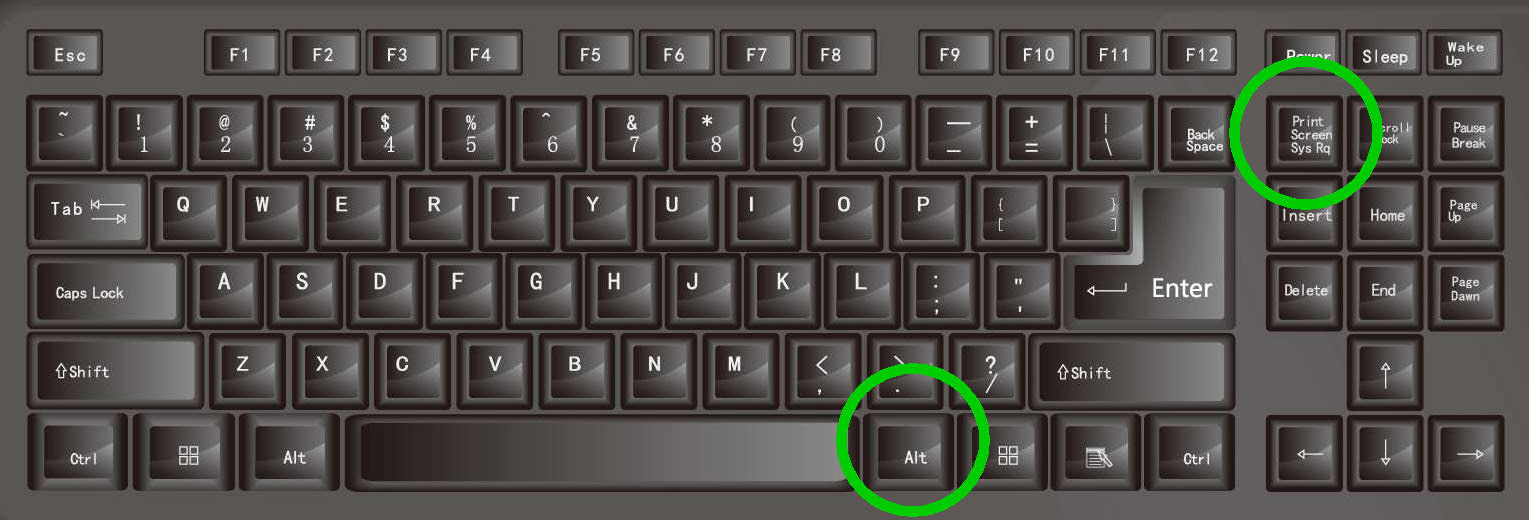
Partial Screenshot on Windows, The shortcut key CTRL+Print Screen captures the entire screen, regardless of how many screens are connected to your computer. This will be a problem if you wish to only take screenshots of certain areas of the screen.
Windows Snipping Tool enables you to take partial screenshots in addition to full ones of the screen. You can snap a screenshot using the snipping tool in four different ways. You can either snap a screenshot of the entire active window, only the area you desire, or even in hands-free mode. Additionally, you have the option of delaying the snapshot process.
Partial Screenshot on Windows/Taking Windows Screenshots in Parts.
The Windows + Print Screen key is the standard Windows shortcut for taking a screenshot. It captures an image of your whole screen. However, you must interact with the application interface that offers the feature in order to take a partial screenshot of the window.
Read More: How to Record the Screen on a Chromebook
Using Snipping Tool, take a screenshot.
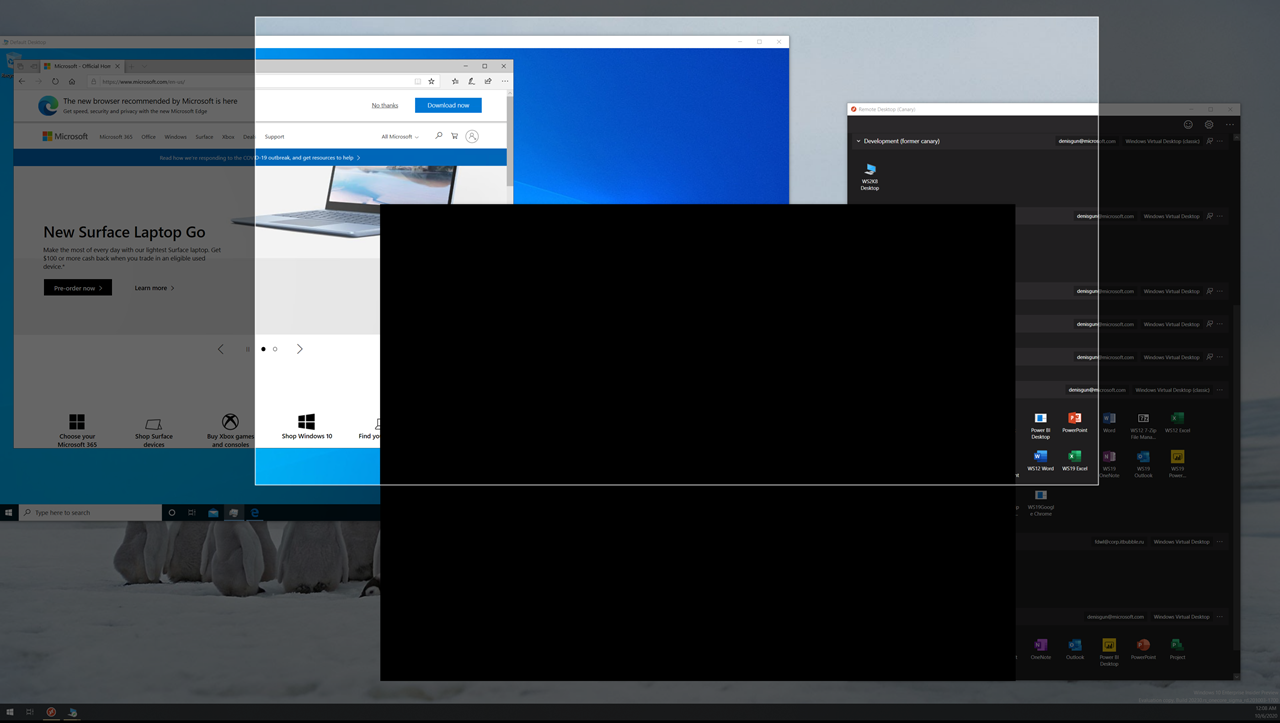
Partial Screenshot on Windows, Open the pre-installed Snipping Tool programmed to snap a screenshot. To enter screenshot mode immediately, hit Windows + Shift + S. Drag the desired capture region with a left click.
Alternately, you can choose the preferred mode and set a screenshot delay by launching the application from the start menu.
- To access the Start menu, use the Windows key.
- Simply select All Apps.
- Select the Snipping Tool by descending the page.
- Make sure the rectangular mode is selected when the application opens.
- To snap a partial screenshot, select New. The display will turn grey.
- On the area of the screen you wish to screenshot, left-click and drag.
- To save your image, let go of the left-click button. The screenshot will be transferred to the clipboard and saved, according to a pop-up message.
- To view the screenshot, click this alert.
Partial Screenshot on Windows/ Various screen capture modes.
Rectangle mode is the default for the screenshot mode. You can choose the area you wish to snapshot using this mode.
Full-screen mode operates in a similar manner as Windows + Print Screen. It captures an image of each of your screens. You have total control over the region where you wish to snap a screenshot when using rectangle mode.
You can take a picture of the currently open window while in window mode. The last option is free-form mode, which allows you to snap screenshots while using your hands-free mouse.


Partial Screenshot on Windows/Screenshot Keys Alternate.
Windows + Shift + S is the standard shortcut for the snipping tool to take a screenshot. You can, however, switch the shortcut key to the Print Screen key.
- To launch Settings, press the Windows key plus I.
- Go to Keyboard > Accessibility.
- Scroll down to the Print screen, access keys, and on-screen keyboard.
- Enable To start screen snipping, press the Print Screen button.
- Reboot your computer.
- Press the Print Screen key after the computer has restarted to see if screenshot mode is enabled.
Using a third-party application, a screenshot.
Partial Screenshot on Windows, To take a screenshot, you can alternatively use one of the several alternative programmed available online. The functionalities of a third-party application are one benefit. The ability to alter file format, size, or even shortcut keys, is one example of a feature.
The programmed you use will determine how these functionalities work. Great applications with easy user interfaces and a variety of capabilities that give snapshot alternatives are Light shot, Green shot, Pic Pick, and Share X.