Open a PC Case Safely, If you need to perform maintenance or upgrades on your computer, the first step is often to open the PC case. However, doing so can be intimidating, especially if you are not familiar with the process. In this article, we will provide you with ten easy steps to safely open a PC case without damaging any of the components inside.
If you’re interested in computer hardware, or you just need to upgrade your PC, you may need to open the case at some point. However, before you start, it’s important to know how to do it safely to avoid damage to your computer or personal injury. In this guide, we’ll walk you through the process of opening a PC case step by step.
Explore the Contents
- 1 Open a PC Case Safely, Why Open a PC Case?
- 2 Open a PC Case Safely: 10 Easy Ways
- 2.1 Step 1: Shut Down Your Computer
- 2.2 Step 2: Unplug All Cables
- 2.3 Step 3: Place Your Computer on a Flat Surface
- 2.4 Step 4: Locate the Screws on Your PC Case
- 2.5 Step 5: Remove the Screws
- 2.6 Step 6: Slide Off the PC Case
- 2.7 Step 7: Ground Yourself
- 2.8 Step 8: Locate the Component You Need to Work On
- 2.9 Step 9: Perform Maintenance or Upgrades
- 2.10 Step 10: Close the PC Case
- 2.11 Step 11: Turn Off and Unplug Your PC
- 2.12 Step 12: Remove Any Peripherals
- 2.13 Step 13: Locate the Screws or Latches on Your PC Case
- 2.14 Step 14: Remove the Screws or Latches and Open the Case
- 3 Open a PC Case Safely, Conclusion
- 4 FAQs
Open a PC Case Safely, Why Open a PC Case?
There are a number of reasons why you might need to open your PC case. Some of the most common reasons include:
- Upgrading or installing new components, such as a new graphics card or more RAM
- Cleaning dust and debris from the interior of the case and components
- Diagnosing and fixing hardware issues
- Adding or removing peripherals, such as a new hard drive or optical drive
No matter why you need to open your PC case, it’s important to do it safely and correctly to avoid damaging your computer or injuring yourself.
Open a PC Case Safely: 10 Easy Ways
Step 1: Shut Down Your Computer
Open a PC Case Safely, Before you begin, make sure to shut down your computer properly. This means going through the proper shutdown procedure to avoid any data loss or damage to your system.
Read More: Should You Always Shut Down Your Laptop at Night?
Step 2: Unplug All Cables
Next, unplug all cables from your computer. This includes the power cable, any USB cables, and any other peripherals that are connected to your system.
Step 3: Place Your Computer on a Flat Surface
Open a PC Case Safely, Find a flat and stable surface to place your computer on. This will help prevent the computer from tipping over and causing any damage.
Step 4: Locate the Screws on Your PC Case
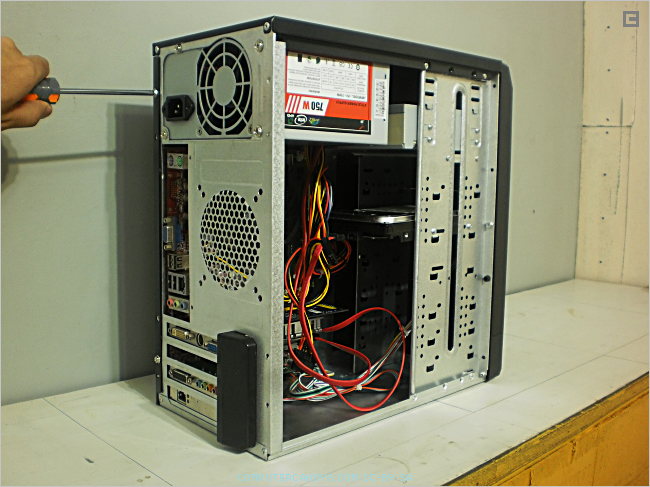
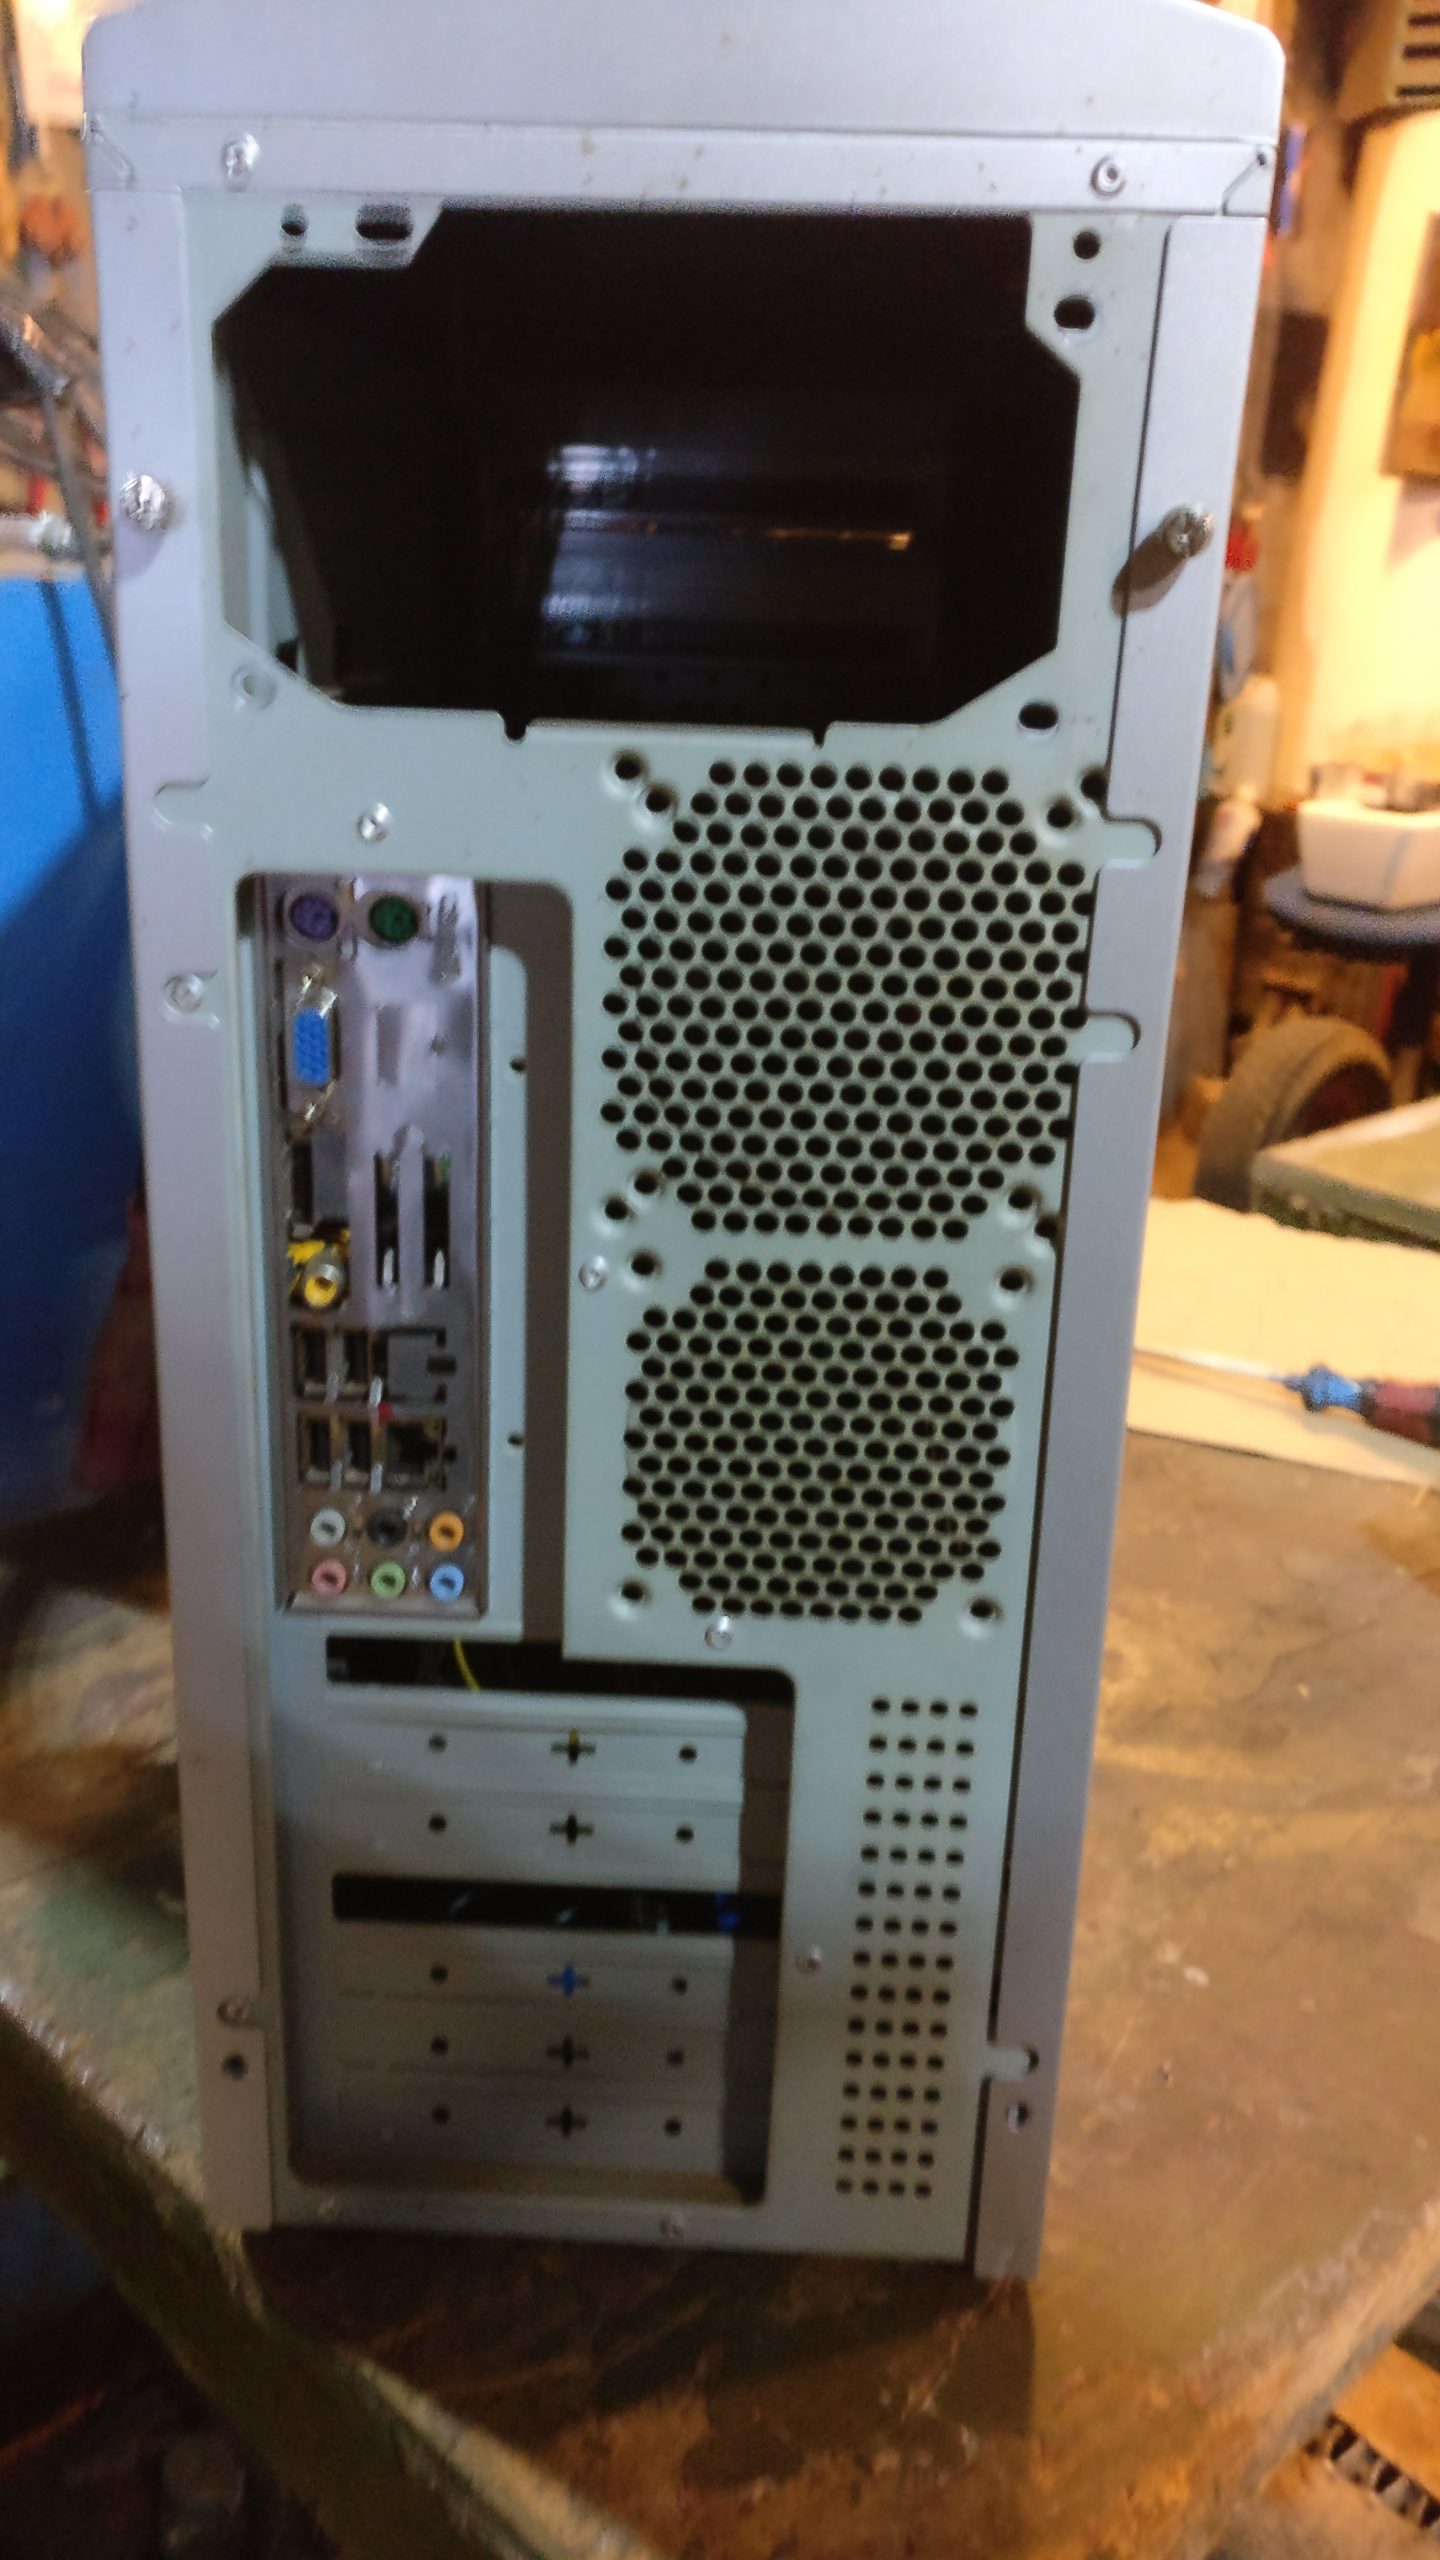
Open a PC Case Safely, Take a look at the back of your PC case to locate the screws that hold the case in place. Typically, there are two or three screws located on the back panel of the case.
Step 5: Remove the Screws
Using a Phillips head screwdriver, remove the screws that hold the PC case in place. Be sure to place the screws in a safe location where they will not get lost.

Step 6: Slide Off the PC Case
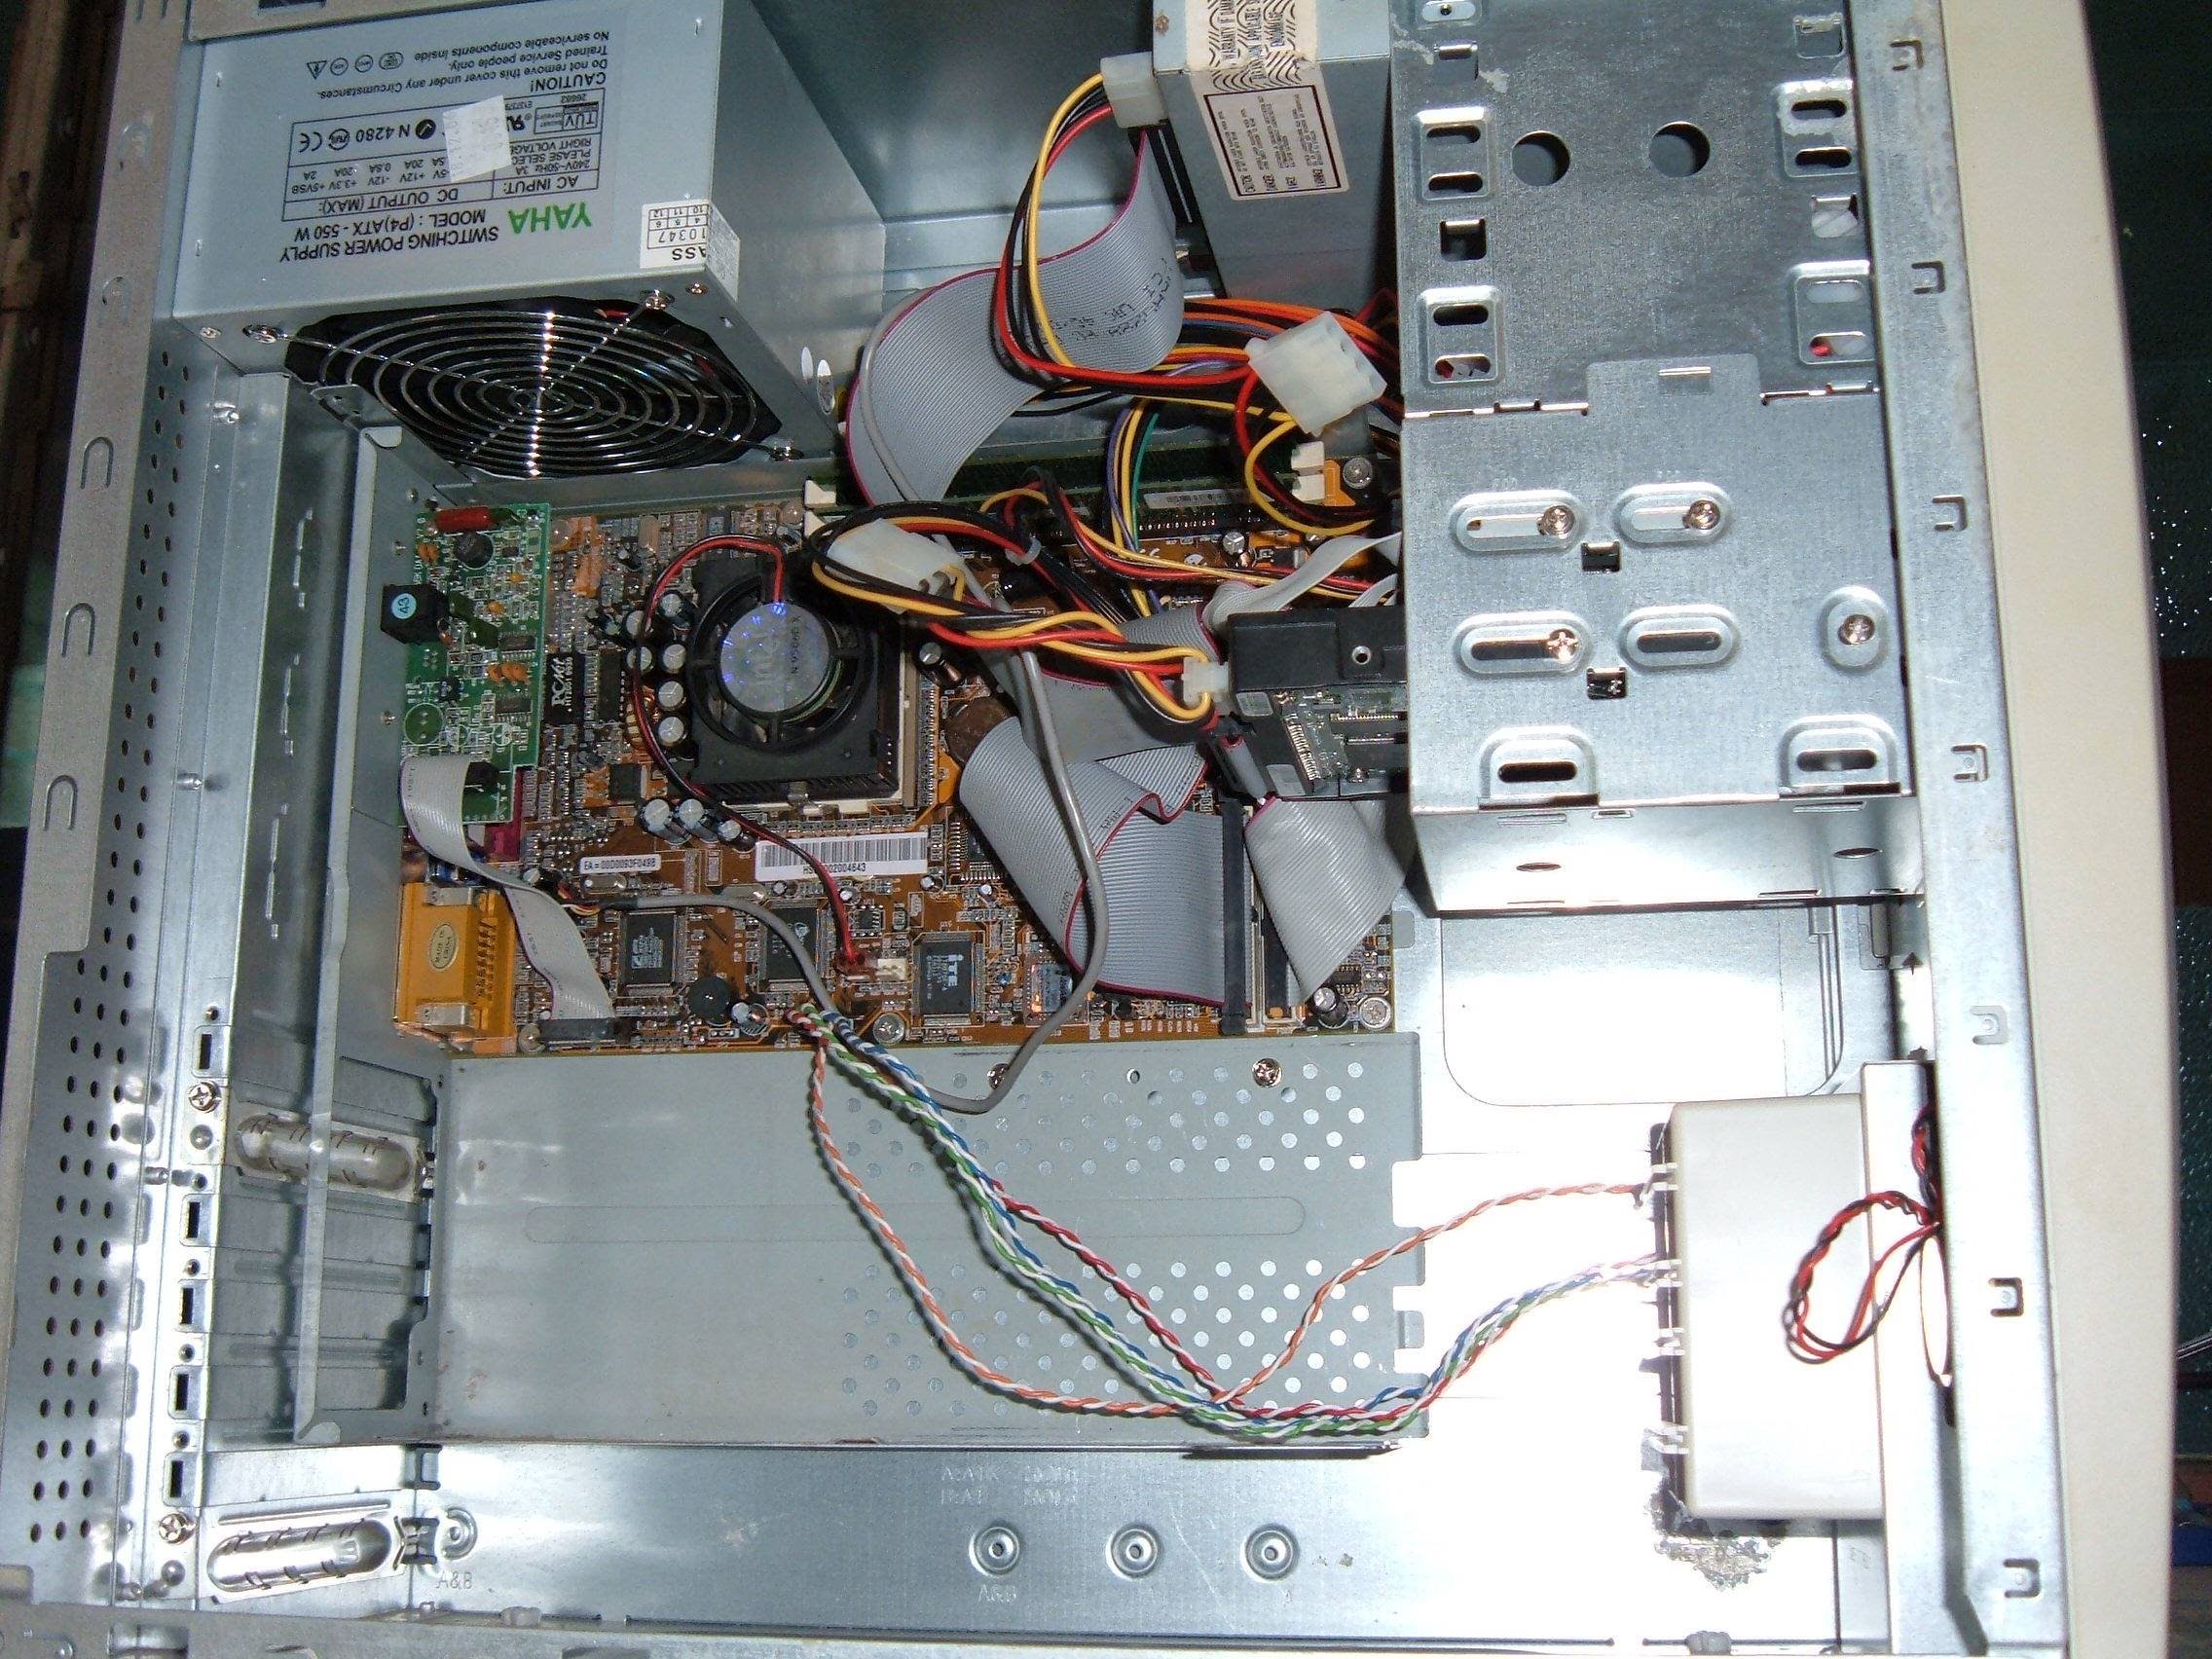
Open a PC Case Safely, Once the screws have been removed, gently slide the PC case off of the computer. Be careful not to force the case off or apply too much pressure, as this can damage the components inside.
Step 7: Ground Yourself
Before you begin working on your computer, it is important to ground yourself to prevent static electricity from damaging your components. You can do this by touching a metal object, such as a doorknob, or by using an anti-static wrist strap.
Step 8: Locate the Component You Need to Work On
Open a PC Case Safely, Once you have opened the PC case, locate the component that you need to work on. This could be a hard drive, a graphics card, or another component that needs to be replaced or upgraded.
Step 9: Perform Maintenance or Upgrades
Now that you have access to the inside of your computer, you can perform any necessary maintenance or upgrades. Follow the manufacturer’s instructions carefully to ensure that you do not damage any of the components.
Step 10: Close the PC Case
Open a PC Case Safely, Once you have finished working on your computer, it is time to close the PC case. Slide the case back into place, making sure that it fits securely and does not wobble. Replace the screws and plug in any cables that you removed earlier.
Step 11: Turn Off and Unplug Your PC
Before you start opening your PC case, make sure to turn off your computer and unplug it from the power source. This will help you avoid any risk of electrocution while you’re working inside the case.
Step 12: Remove Any Peripherals
Open a PC Case Safely, Before you can open your PC case, you’ll need to remove any peripherals that are attached to your computer, such as your keyboard, mouse, and monitor. This will give you more room to work and help you avoid accidentally knocking something over while you’re inside the case.
Step 13: Locate the Screws or Latches on Your PC Case
Most PC cases are held together with screws or latches that can be easily removed to open the case. Depending on the make and model of your computer, you may need to use a screwdriver or other tool to remove the screws.
Step 14: Remove the Screws or Latches and Open the Case
Open a PC Case Safely, Once you’ve located the screws or latches on your PC case, carefully remove them and set them aside. Then, gently lift or slide the side panel of your case to open it up.
Open a PC Case Safely, Conclusion
Opening a PC case can be intimidating, but with these ten easy steps, you can safely open your computer without damaging any of the components inside. Always make sure to follow the manufacturer’s instructions and take the necessary precautions to prevent static electricity from causing damage.
Read More: Finding Clipboard on PC/locating the clipboard on a computer
FAQs
- Is it safe to open a PC case?
Yes, it is safe to open a PC case as long as you take the necessary precautions to prevent damage to the components inside.
- Do I need any special tools to open a PC case?
You will need a Phillips head screwdriver to remove the screws that hold the PC case in place.
- What should I do if I am not comfortable opening my PC case?
If you are not comfortable opening your PC case, it is best to seek the help of a professional.
- How often should I open my PC case for maintenance?
You should open your PC case for maintenance or upgrades as needed.
