
Enable Secure Boot on Gigabyte, Secure Boot is a security feature that helps prevent unauthorized operating systems, malware, and rootkits from running on your computer. By enabling Secure Boot on your Gigabyte computer, you can ensure that your system is protected against unauthorized access and tampering. In this article, we will show you how to enable Secure Boot on your Gigabyte computer in 14 easy steps.
Read More: ASUS Laptop From USB; How to Boot?
What is Secure Boot?
Secure Boot is a security standard developed by the Unified Extensible Firmware Interface (UEFI) Forum to help ensure the integrity of the boot process. It is designed to prevent unauthorized operating systems, malware, and rootkits from running on a computer. Secure Boot is implemented by checking digital signatures of boot loaders, kernel modules, and operating system loaders against a database of trusted signatures.
Enable Secure Boot on Gigabyte, Why Enable Secure Boot on Gigabyte?
Enabling Secure Boot on your Gigabyte computer can help protect your system against unauthorized access and tampering. Secure Boot ensures that only trusted software is loaded during the boot process, which can prevent malware and rootkits from infecting your computer. It can also prevent unauthorized access to your system by blocking the use of bootable USB drives or CDs that may contain malicious software.
Requirements for Enabling Secure Boot on Gigabyte
Enable Secure Boot on Gigabyte, Before you can enable Secure Boot on your Gigabyte computer, you need to ensure that the following requirements are met:
- A Gigabyte motherboard that supports Secure Boot
- A UEFI BIOS firmware version that supports Secure Boot
- A Windows 8 or later operating system that supports Secure Boot
Step-by-Step Guide to Enable Secure Boot on Gigabyte
Follow the 14 easy steps below to enable Secure Boot on your Gigabyte computer:
Step 1: Access UEFI Firmware Settings
Enable Secure Boot on Gigabyte, To access the UEFI firmware settings, restart your computer and press the appropriate key to enter the firmware settings. For Gigabyte motherboards, the key is usually Del or F2. Consult your motherboard manual for more information.
Step 2: Select the Security Option
In the UEFI firmware settings, select the Security option.
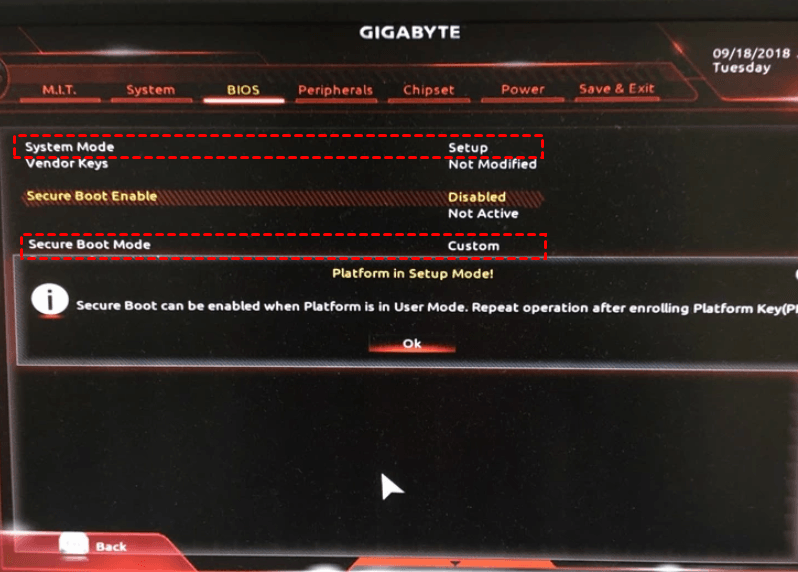
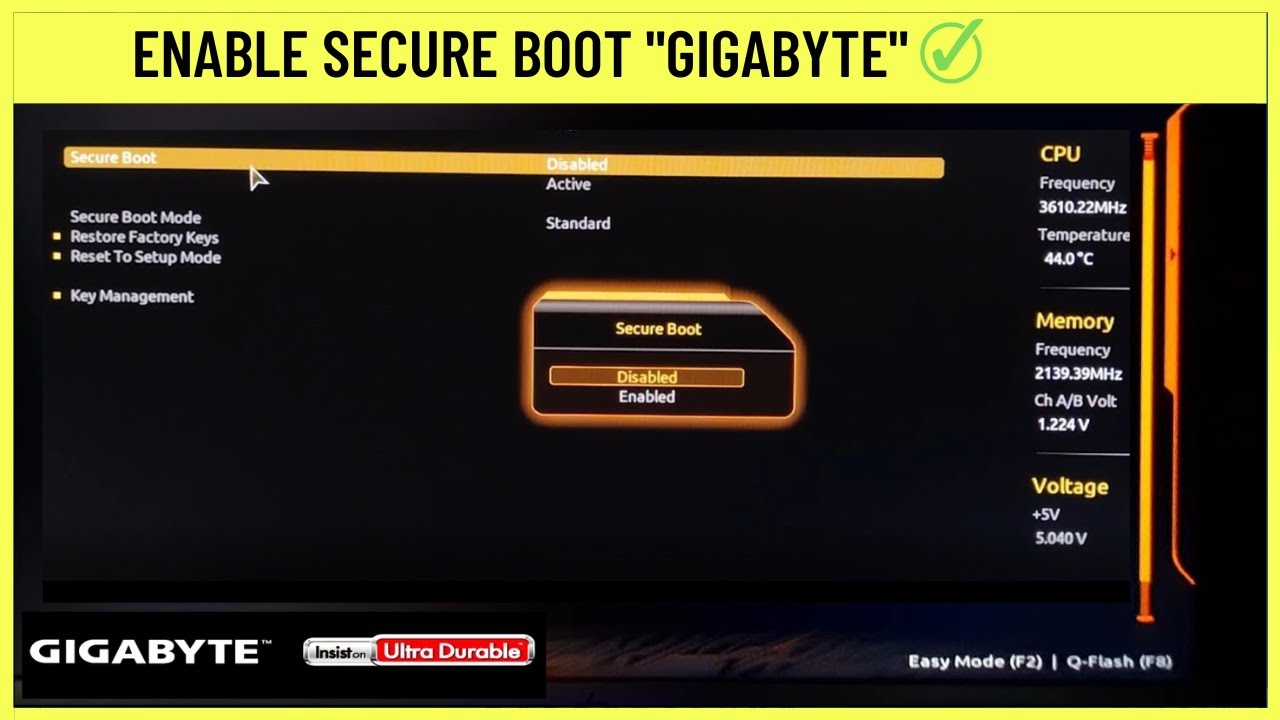
Step 3: Enable Secure Boot
Enable Secure Boot on Gigabyte, Enable the Secure Boot option.


Step 4: Save Changes and Exit
Save the changes and exit the UEFI firmware settings.
Step 5: Confirm Secure Boot is Enabled
Enable Secure Boot on Gigabyte, Once your computer restarts, confirm that Secure Boot is enabled by entering the UEFI firmware settings again and checking the Secure Boot status.
To ensure that Secure Boot functions properly, you need to disable the Compatibility Support Module (CSM) in the UEFI firmware settings. CSM is a legacy BIOS feature that allows your computer to boot in both UEFI and BIOS modes. Disabling CSM ensures that your computer boots in UEFI mode only.
Step 7: Disable Fast Boot
Enable Secure Boot on Gigabyte, Fast Boot is a feature that speeds up the boot process by skipping certain system tests. However, it can interfere with Secure Boot, so it’s recommended to disable it in the UEFI firmware settings.
Step 8: Disable Windows 8/10 Features
If you are running Windows 8 or later, you need to disable certain features that can interfere with Secure Boot. In the UEFI firmware settings, disable the Windows 8/10 Features option.
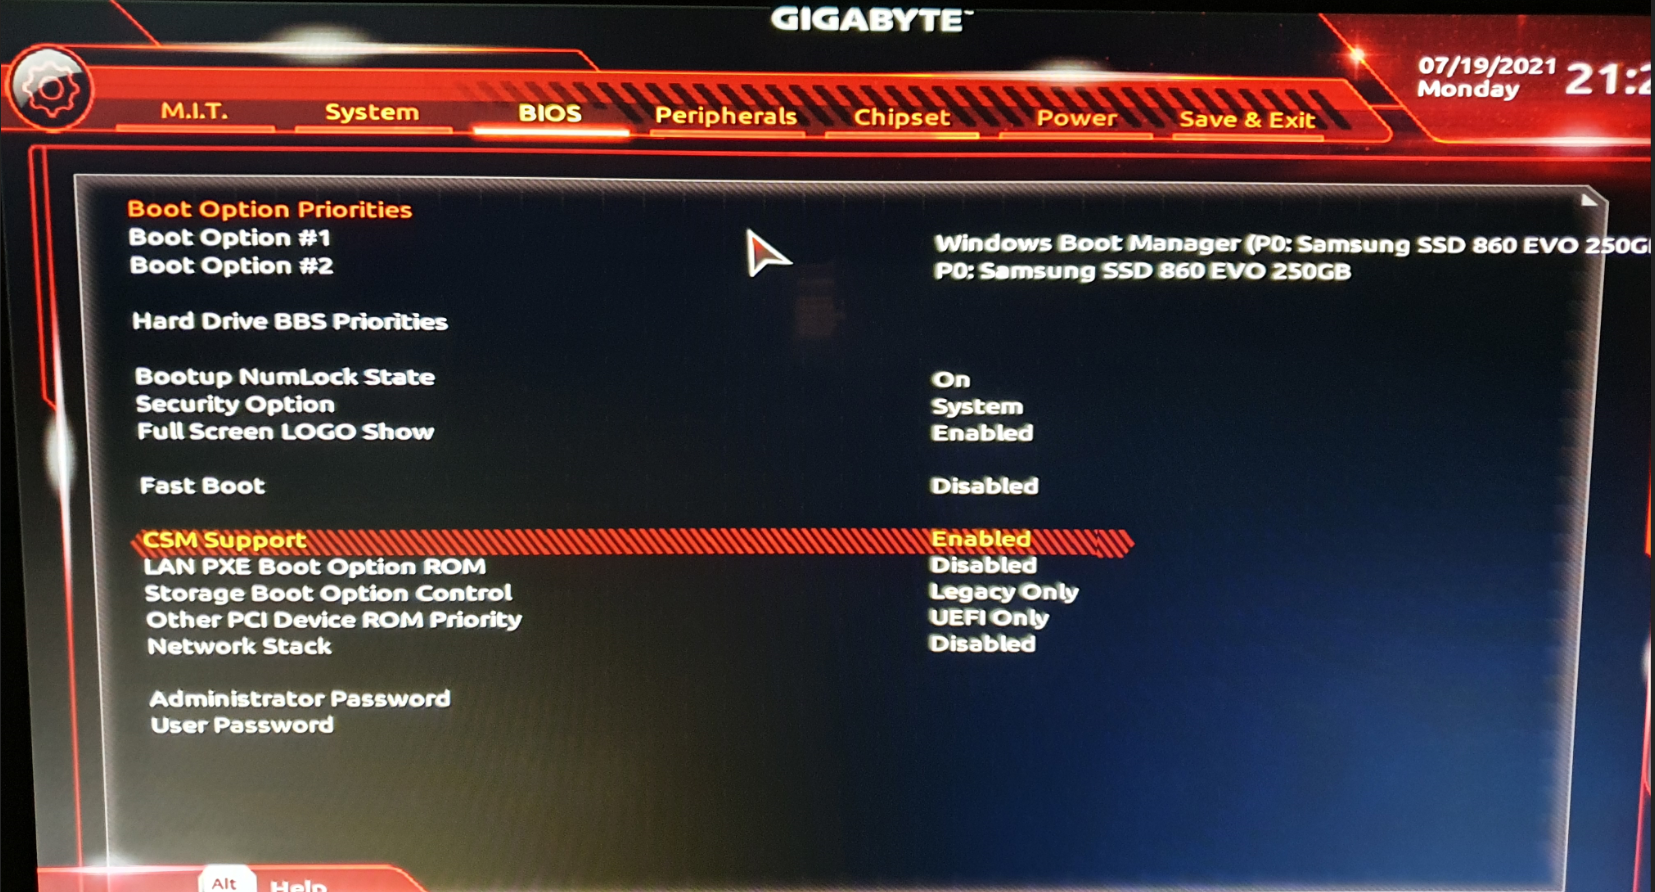
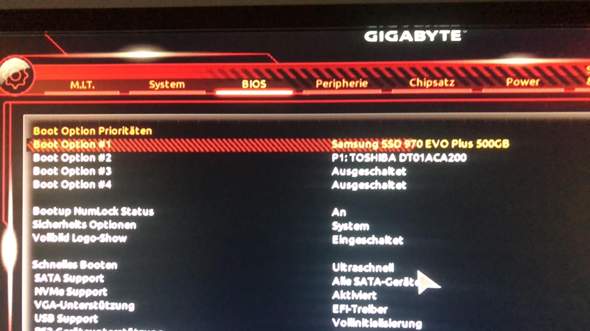
Step 9: Select the Boot Option Priorities
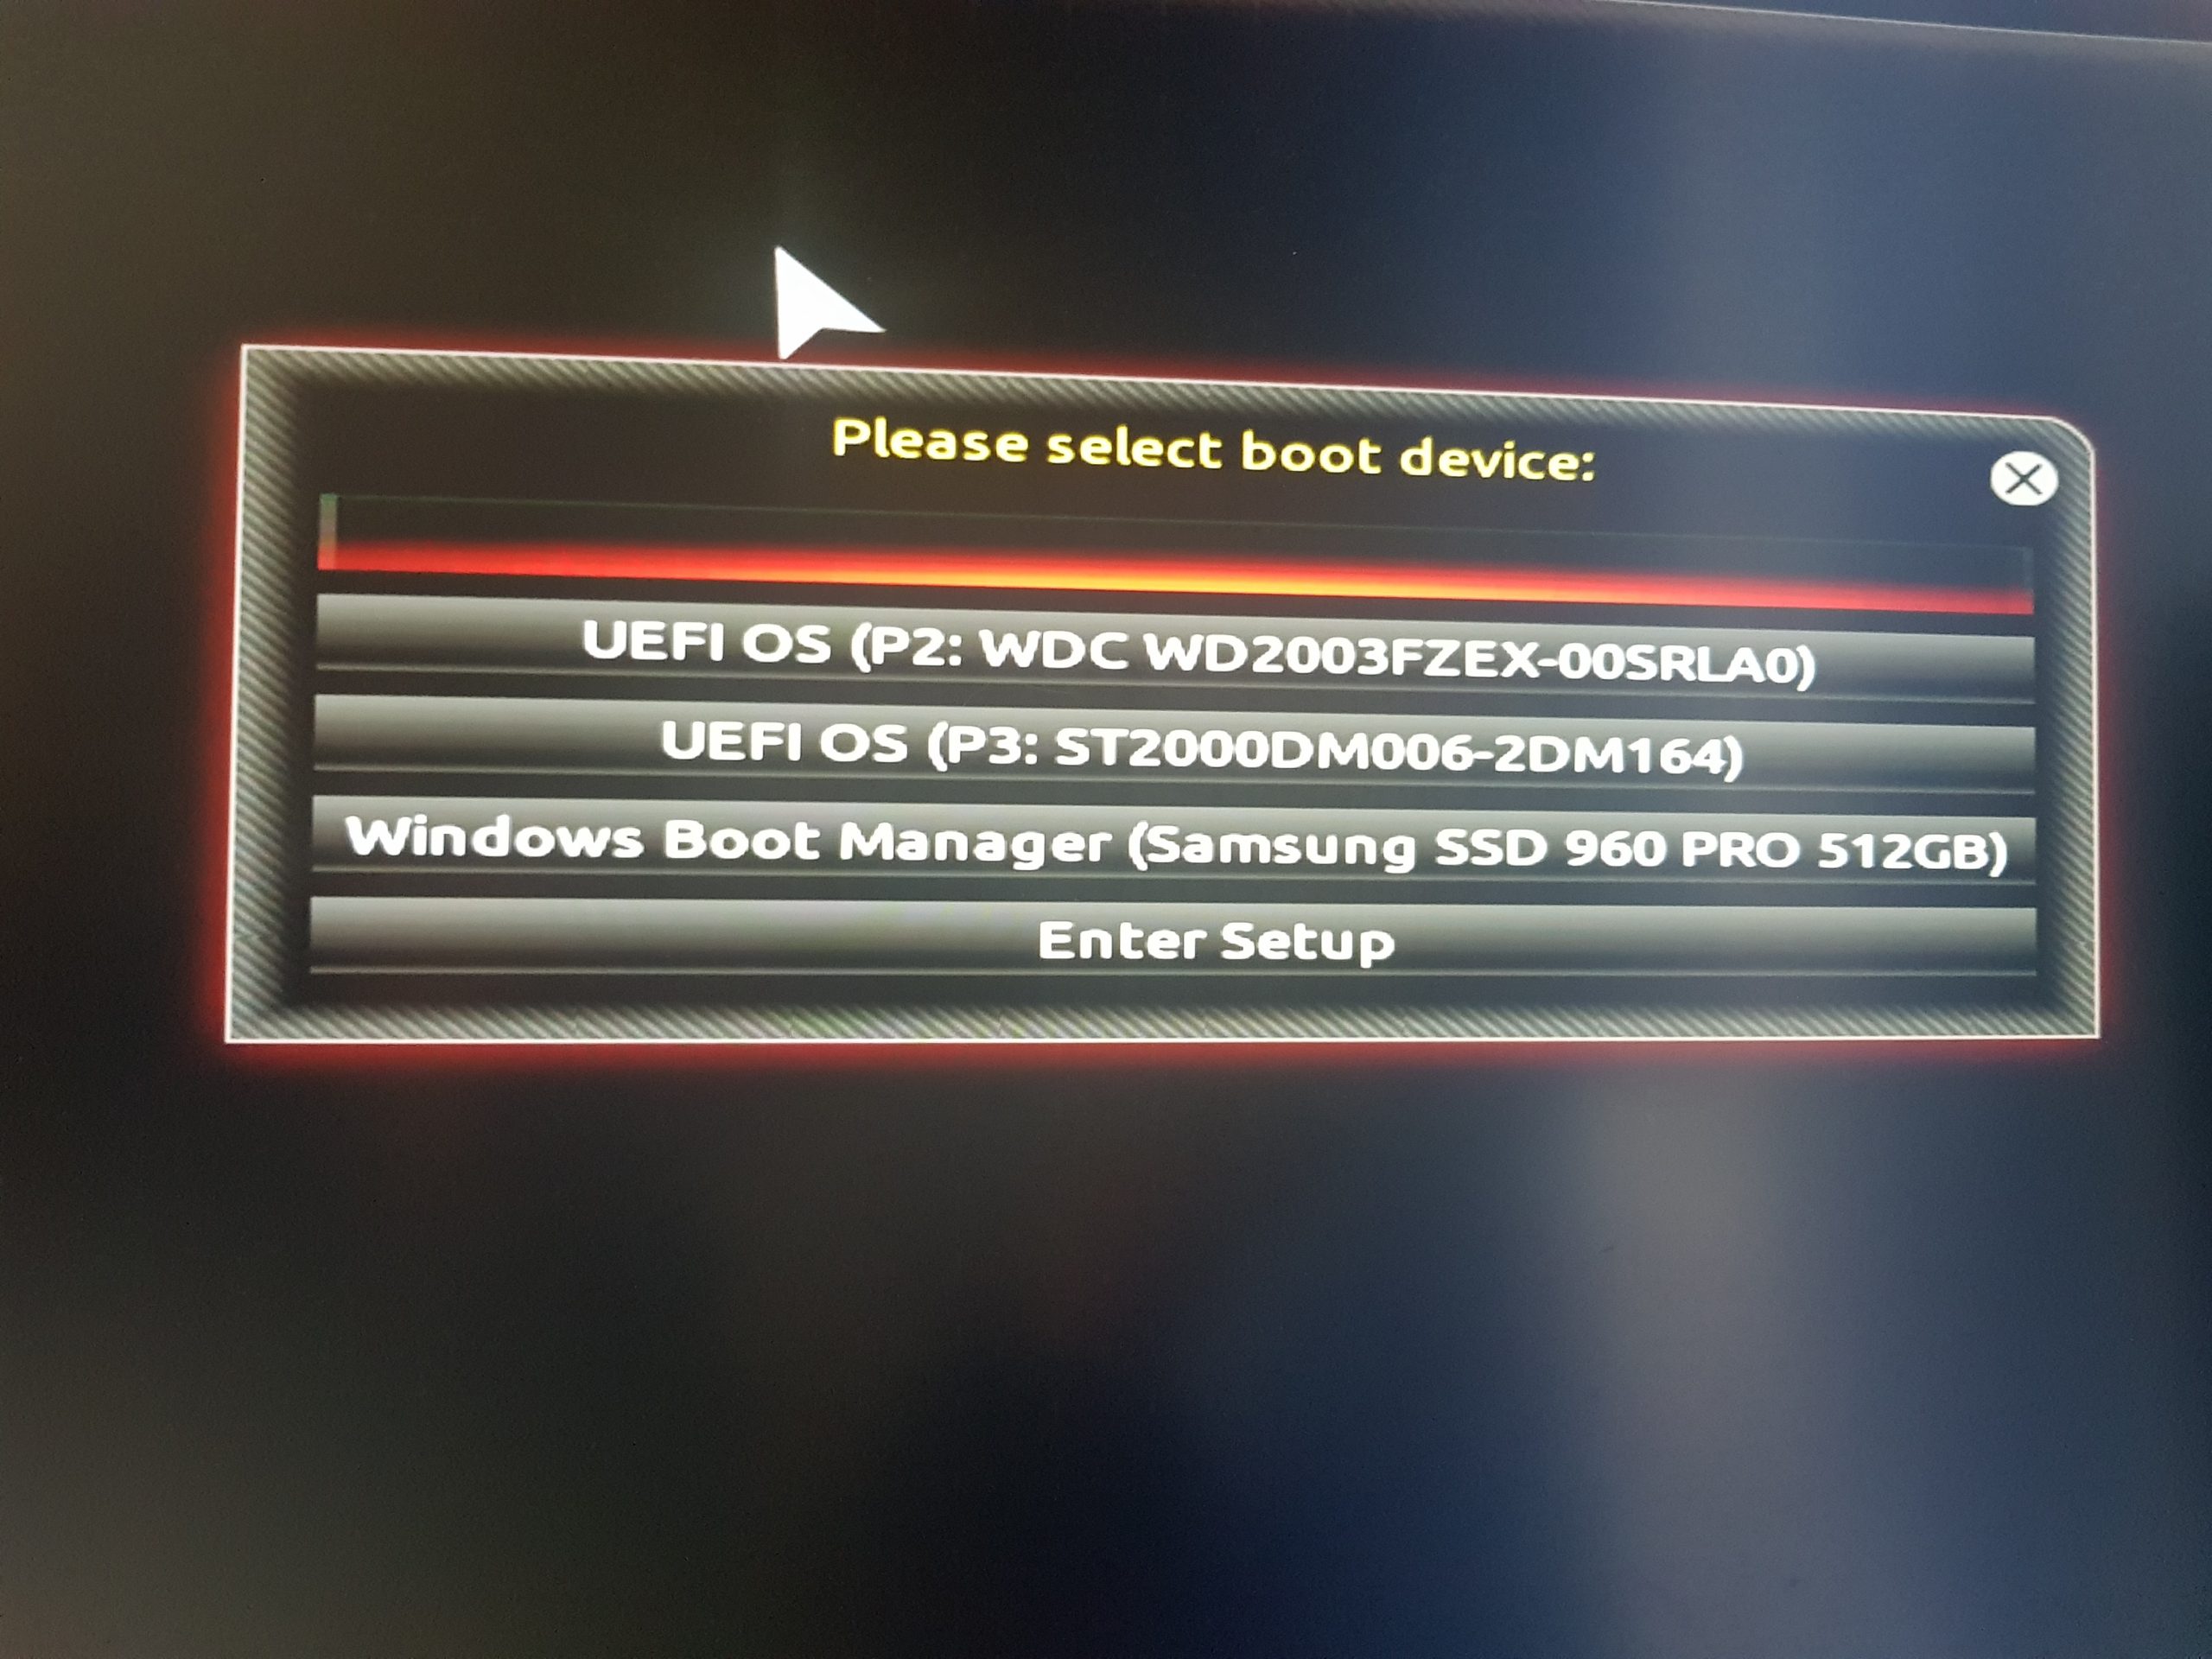
Enable Secure Boot on Gigabyte, In the UEFI firmware settings, select the Boot option and prioritize the boot order to ensure that the bootable drive with the operating system is at the top of the list.
Step 10: Disable Boot from Network
To prevent unauthorized access to your system, disable the Boot from Network option in the UEFI firmware settings.
Step 11: Disable Boot from Storage Devices
Enable Secure Boot on Gigabyte, In the UEFI firmware settings, disable the Boot from Storage Devices option to prevent unauthorized bootable drives from being used to access your system.
Step 12: Enable Boot from CD/DVD
If you need to boot from a CD/DVD, enable the Boot from CD/DVD option in the UEFI firmware settings.
Step 13: Enable Boot from USB
Enable Secure Boot on Gigabyte, If you need to boot from a USB drive, enable the Boot from USB option in the UEFI firmware settings.
Step 14: Save Changes and Exit
Finally, save the changes and exit the UEFI firmware settings to ensure that Secure Boot is enabled on your Gigabyte computer.
Enable Secure Boot on Gigabyte, Conclusion
Enabling Secure Boot on your Gigabyte computer is an important step in ensuring the security of your system. With the 14 easy steps outlined in this article, you can enable Secure Boot on your Gigabyte computer and protect your system against unauthorized access and tampering.
Read More: 7 Easy Ways to Format an SSD.
FAQs
- What is Secure Boot? Secure Boot is a security feature that helps prevent unauthorized operating systems, malware, and rootkits from running on your computer.
- How does Secure Boot work? Secure Boot is implemented by checking digital signatures of boot loaders, kernel modules, and operating system loaders against a database of trusted signatures.
- Why is Secure Boot important? Enabling Secure Boot on your computer can help protect your system against unauthorized access and tampering, as well as prevent malware and rootkits from infecting your computer.
- What are the requirements for enabling Secure Boot on Gigabyte? You need a Gigabyte motherboard that supports Secure Boot, a UEFI BIOS firmware version that supports Secure Boot, and a Windows 8 or later operating system that supports Secure Boot.
- How do I enable Secure Boot on my Gigabyte computer? Follow the 14 easy steps outlined in this article to enable Secure Boot on your Gigabyte computer.


One Comment