Gmail Won’t Attach Files? Here are 5 ways to Fix it.

Gmail Won’t Attach Files, You might want to include attachments while writing emails. But occasionally, adding an attachment in Gmail will result in an “Attachment failed” error. The issue typically happens if the files you are attempting to attach are larger than allowed. Additionally, there are additional explanations.
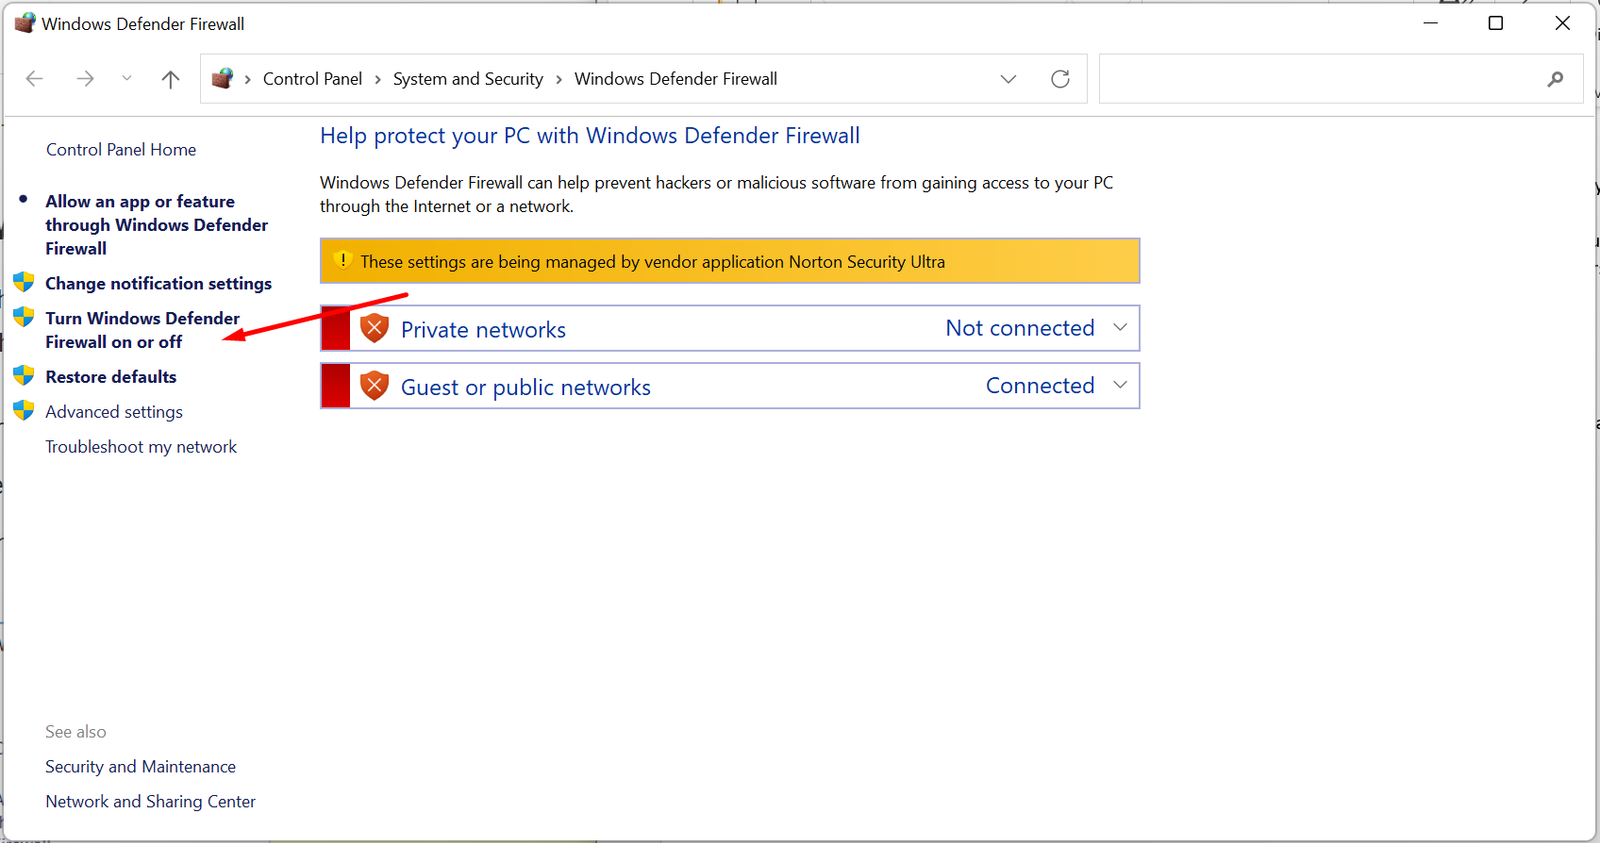
A damaged browser cache and cookies could be a prevalent cause of the attachment failure problem. Similarly, you might be unable to attach files if your browser is out of date. If you don’t believe the problem is with your browser, the attachment can be blocked by a proxy connection or a firewall.
Read More: New Gmail Features Added to Apple Email Apps
Gmail Won’t Attach Files, Verify the File Type and Size.
Gmail prohibits users from attaching files with certain file extensions, including as.exe and.zip, for security reasons. Gmail blocks executable (.exe) files and compressed files (apart from.rar) to stop users from spreading malware or viruses to other users.
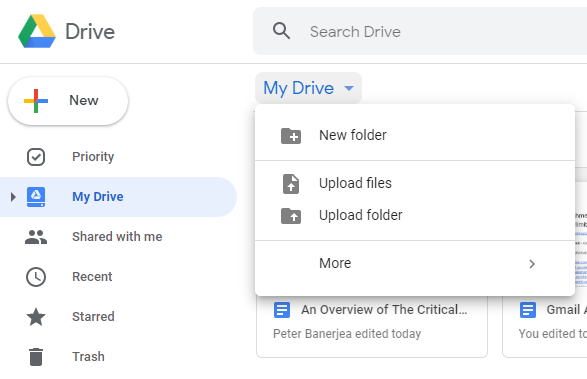
The maximum file size for Gmail is 25 MB as well. Over this limit, you won’t be able to upload a file. Gmail offers you the option to upload files bigger than 25 MB to your Google Drive and share a link to that file instead.
Read More: How to delete your old emails on Gmail at once?
Gmail Won’t Attach Files, Cache and cookies clearing.
Data from the websites you view is stored in a cache by your browser. The websites will load more quickly the next time you visit as a result. Similar to this, cookies keep track of your website preferences and enhance your browsing.
However, the website itself might not work if these caches and cookies become tainted. To resolve problems brought by by such corrupt cache and cookie data, clear them. Although each browser has its own specific procedures for clearing the cache and cookies, there are some broad similarities.
- Activate your browser.
- To view the browser history, press the keys Ctrl + H.
- Search for the “Clear browsing history” option.
- Check the “cookies and cache” box.
- Select “Clear Data”

Browser update.
Gmail Won’t Attach Files, Updates for your browser occasionally contain bugs and flaws that could cause problems with specific websites. The developers will provide a fix in the upcoming patch if such errors and malfunctions are unique to a certain update patch. It’s crucial that you maintain your browser updated to the most recent version in order to avoid losing out on such crucial improvements.
Additionally, there’s a chance that your browser is really ancient. Your browser’s earlier versions might not be able to support Gmail’s new features. Websites and functionalities, such as the file attachment service, may break as a result. Maintaining an updated browser will also resolve such issues.
Gmail Won’t Attach Files, Using Incognito/Switch Browser.
Newer browsers include an incognito/private browsing mode that won’t use any of the cookies and caches that are already in place. Additionally, while utilizing incognito, any chance of browser addons interfering with the Gmail website will be eliminated.
Gmail Won’t Attach Files, Most browsers allow you to go to incognito mode by simultaneously hitting Ctrl, Shift, and N, or by using the browser’s settings. If attaching files in this mode is not problematic, you can infer that the problem lies with the browser’s default settings or browser extensions. In this situation, you can change your web browser and attempt to attach the file there.
You can remove the new browser extension that caused this problem if you installed it to check if the problem has been resolved. If deactivating does not resolve the issue, try a different web browser and attempt attaching the file there.

Shut down the proxy server.
Gmail Won’t Attach Files, In order to keep you safe, a proxy server is a server computer that acts as a “middleman” between your computer and the website. Using a proxy server could occasionally cause problems when posting attachments to your Gmail account. You can briefly turn it off and then try attaching the files once more. To disable the proxy server on your Windows computer, follow these steps:
- To access the settings, press Win + I.
- Click on Network & Internet.
- Proxy can be chosen in the left side.
- Slider under Manual proxy setup should be turned off.


2 Comments