
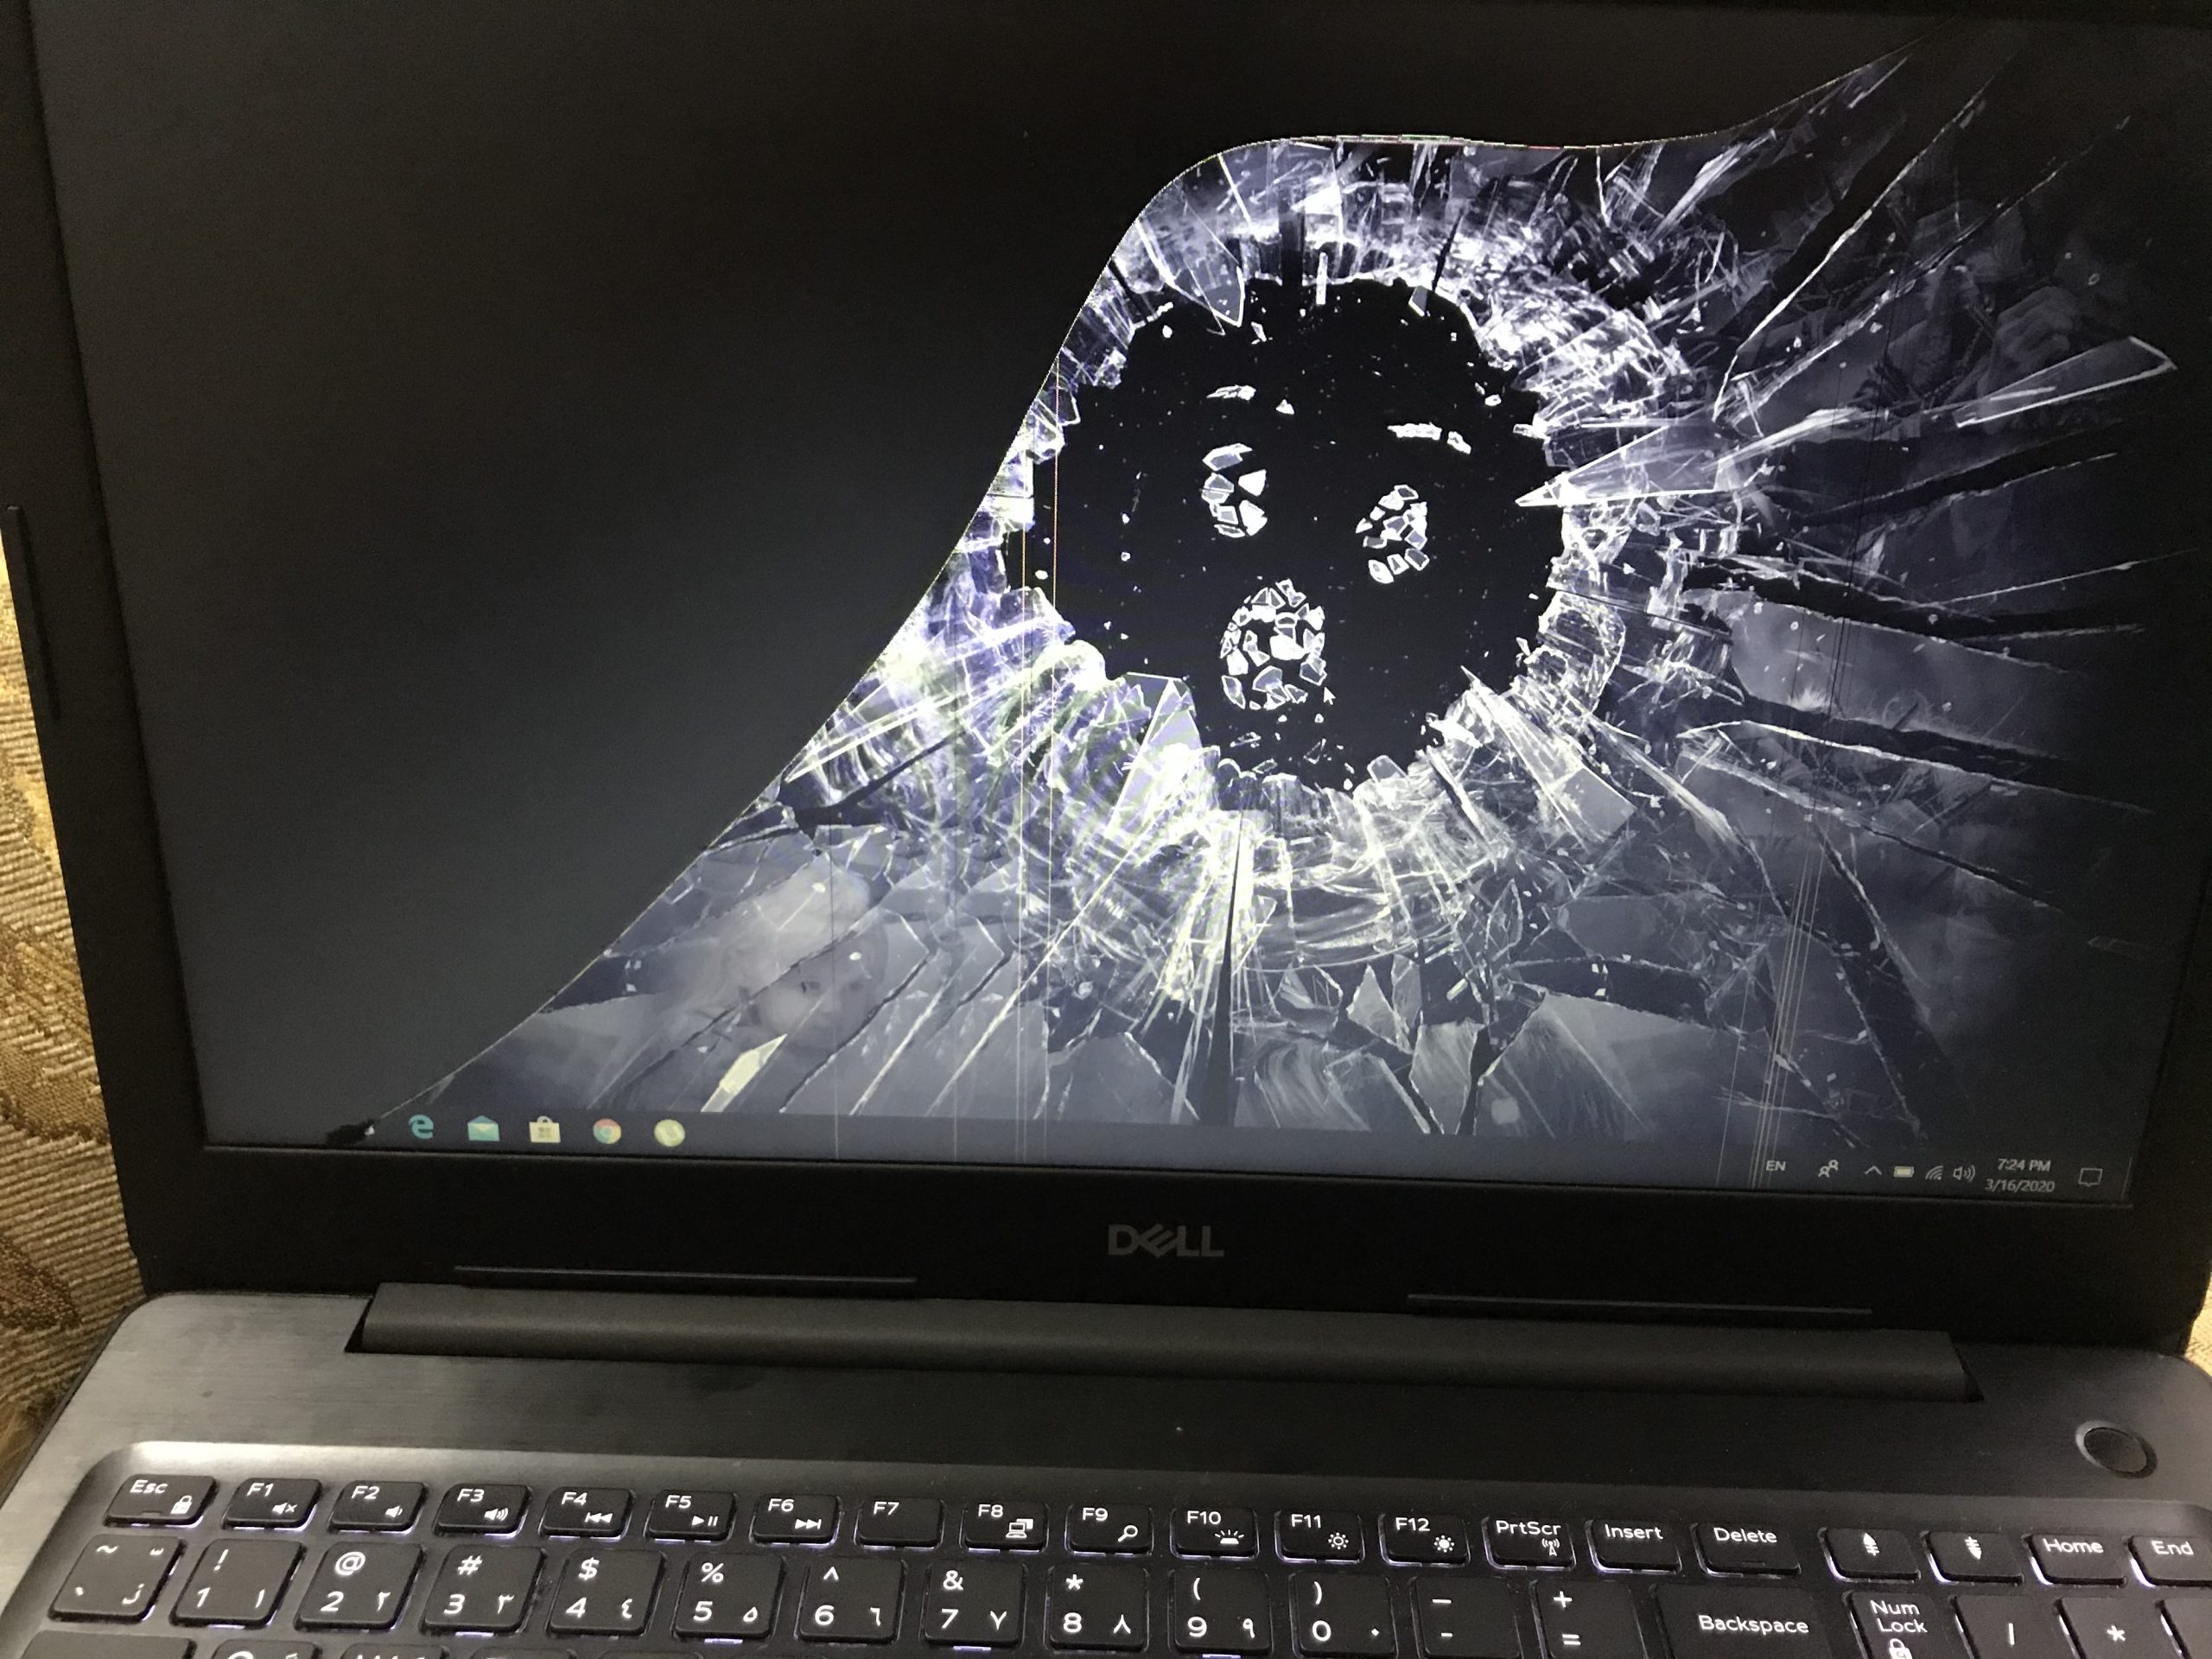
Repairing a Broken Screen, Your laptop’s display panel is easily breakable if it sustains any physical harm. In such circumstances, the screen will have cracks, stains, patches, ink splotches, etc. The screen panel must be changed in order to solve such problems.
You may not need to replace the panel if there are only small parts or sides of the screen with splotches or spots because you can still see the contents of the screen. You are left with no other option, though, if the harm is more severe.
The screen on your Dell laptop can be replaced without cost if Accidental Damage Support, an extension of the warranty, is active. If not, you will be responsible for the replacement services. If you have the right tools, you can also purchase a new screen panel for your specific laptop model and replace it yourself.
Read More: Lenovo Releases The First-Ever Dual-Screen Foldable Laptop
Repairing a Broken Screen, Step 1: Turn off the laptop’s power source
Even though you are not need to turn off the laptop’s power before changing the screen, you should always do so. Your laptop won’t accidentally turn on this way. Some circuit components may short if the power is left on as-is, necessitating the replacement of the entire motherboard in such cases.
- Be sure to unplug the AC charger first.
- If the laptop has a replaceable battery, unlock it by sliding the latch before removing it.
- If the laptop’s battery is internal, you must open the device and unplug it.
Using the correct screwdriver, remove the rear panel’s screws. Check underneath the stickers and rubber feet as well because there can be extra screws there. Make sure you can identify the screws afterwards because the screw size may vary depending on the location.
The panel should be freed from the latches by using a prying tool. After that, remove the panel. Make sure to avoid putting your hands near any internal parts. The electrical discharge that results from doing so could harm these components. - Repairing a Broken Screen, To detach the internal battery from the motherboard, use a spudger. You must first draw up a lock that might be used to secure the cable.
- Reinstall the panel, but don’t screw or lock it. Later, you must reconnect the battery.
After that, hold down the power button for 30 to 40 seconds to completely discharge the laptop’s capacitors of any remaining charge.
Step 2: Change the screen panel
Repairing a Broken Screen, The major step, which involves opening the screen and replacing the panel, is now.
- To gently separate the screen bezel from the seams between the bezel and the screen, use the pick or a prying instrument shaped like a card.
- After performing the procedure on each side, remove the bezel.
- All of the screws holding the panel to the screen should be removed. If there are no screws, double-sided sticky tapes should be used to secure the panel to the screen. To get rid of these adhesives, pull the bottom tabs.
- After that, carefully place the screen on the keyboard.
- For connection to the webcam area, some versions have a ribbon wire that runs directly through the centre. Therefore, you must first remove the cable or webcam. If there is double-sided tape holding the webcam in place, you may easily peel it off.
- If not, pull up the clip on the ribbon cable connector to release it, then unplug the ribbon cable using the plastic tab. The cable is quite sensitive, so take care.
- Look for the display ribbon cable after that. The cable needs to be taken out in the same manner. If it is taped to the panel, carefully peel off the tape before sticking it to the new display panel.
- Lay the new panel on top of the old one on your laptop keyboard.
- The ribbon wire should be fully plugged in before being clipped.
Repairing a Broken Screen, Step 3: Reassemble the screen to complete.
Must carefully put everything back in place after changing the screen.
- Might need to apply more pull tab adhesives to adhere the panel to the left and right sides of the screen if you previously removed the adhesive tapes.
- You can just carefully position the panel and then reinstall the screws for screens that have screw holes. Align the panel using the aligning posts.
- Before reattaching the bezel, you must remove the protective films that are attached to new display panels.
- Additionally, because the locks on the screen or the bezel can easily come off, we advise testing the new display’s functionality before attaching it in any case. After reattaching the battery, turn on the computer to check the display. Be sure to keep an eye out for any screen artifacts as well.
- The display ribbon cable is not connected correctly if it doesn’t turn on or if the laptop displays a POST error (often 8 beeps), in which case you must reconnect it.
- In the event that the laptop panel was previously unscrewed, properly reconnect it after making sure there is no issue. To lock the panel and secure each screw in place, apply pressure to all four sides.
- After that, reinstall the bezel and secure it to the screen by pressing firmly on all four corners and edges. Make sure there are no panel gaps left.


3 Comments