Fixing Sticky Keys, A typical issue with laptops is sticky keys, which develop when the key actuation mechanism becomes clogged. The main cause of this is when dirt and filth gather beneath the keycaps.
Sticky keys may cause simultaneous multi-keypresses to fail to register due to ghosting problems. Additionally, it may result in problems that make the keys inoperable or duplicate keystrokes.
Fortunately, if the keyboard is recording keypresses, you may fix this problem quickly and easily at home. But in order to get the keycaps off, you need to go slowly.
Read More: Repairing a Broken Screen on a Dell Laptop.
Fixing Sticky Keys, Disconnect Your Device
The first step is to shut off your laptop and unplug any connected devices. This guarantees that any attached accessories won’t block the cleaning procedure.
- Save your work and end any open programs.
- Disconnect any laptop accessories, such as the mouse, charger, and headphones.
- To access the Start menu, click the Start button.
- To turn off your device, press the Power icon and choose Shut off.
Pristine dirt and dust
Fixing Sticky Keys, After your computer has completely shut down, check the keyboard to see if there are any deposits of loose dirt particles beneath the keycaps. Small gaps between keys and actuators make it possible for even a microscopic quantity of dirt to cause the keys to become stuck. So, here is how to clear the keyboard of dust and particles.
- Place your laptop on a stand so that the keyboard is inclined.
- Shake the laptop gently until dust and other debris that has collected beneath the keycaps falls off.
- Use a soft brush to gently clean the filthy area and attempt to remove any obstinate or deeply embedded debris. To hold the laptop, you might require assistance from another person.
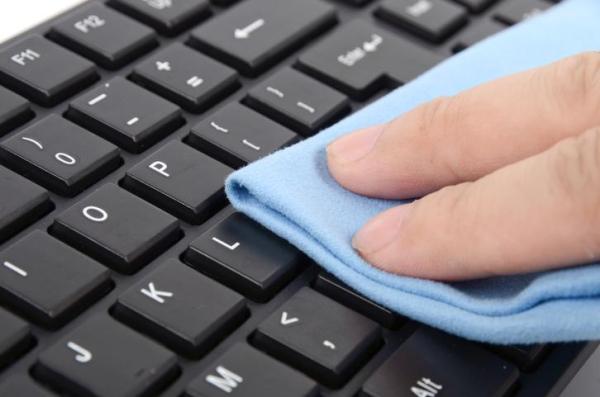
- After you’re done, set the laptop down on a flat area and clean it with a soft cloth.
Fixing Sticky Keys, Use pressurized air
You will need to use a can of compressed air to clean the keyboard more completely if the issue still exists after removing the dirt and dust. Dust and debris can be removed with this technique from confined areas where touch treatments are impractical.
- Position your laptop such that the keyboard is inclined.
- Press the trigger while holding the canned air nozzle at about a 3-inch distance.
- Always spray in brief bursts, and then shake your laptop to remove any unwanted particles.
- If condensation emerges, allow your laptop to air dry until the solvent is gone before turning it on.
If using compressed air to clean the keyboard does not succeed, you will need to take the keycaps off and completely clean the inside keyboard mechanism.


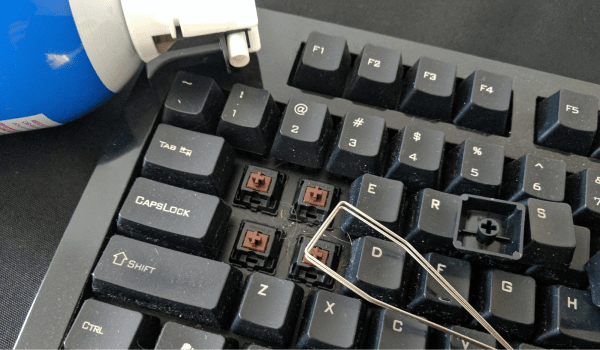
Take the Keycaps off.
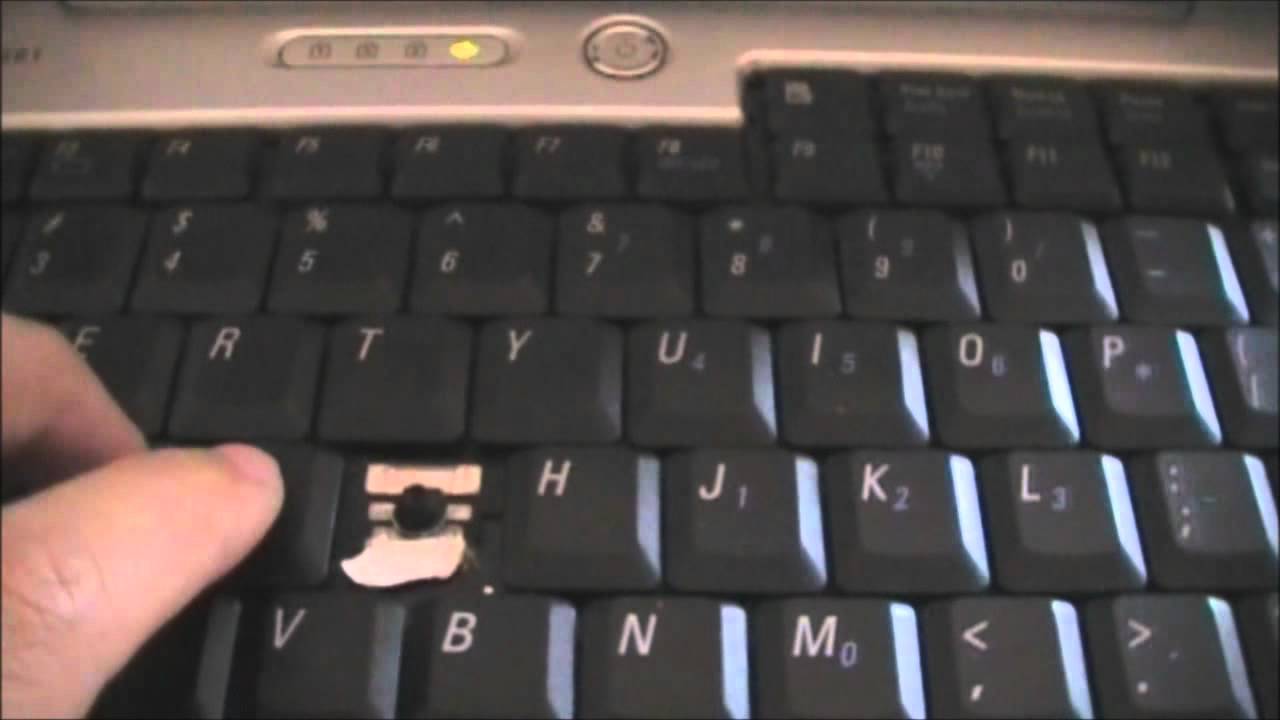
Fixing Sticky Keys, You might need to take the keycap off the keyboard if the cause of the sticky key problem is liquid seepage or another mechanical issue.
You might need to consult the user manual or the website for your product’s support because the caps are quite thin and prone to breaking. They contain comprehensive directions for carefully removing and reattaching the keycap without running the risk of breaking or harming it.
Here are the instructions for using keys with rubber domes.
- Place a flathead screwdriver or a thin pry tool between the keycap’s gaps.
- The retention clip can be broken if the pry tool is inserted deeply and underneath it.
- Lift the keycap slowly and keep it in place with your finger.
- Push the retention clip down to release the keycap by using the screwdriver or the pry tool to do so.
- You must release numerous retaining clips and hinges in order to use larger keys like Shift, Enter, and Spacebar.
- You can peel the plastic clip away from the metal hooks if you also need to remove the retainer clip.
Fixing Sticky Keys, Repair/Clean Clip Retainers
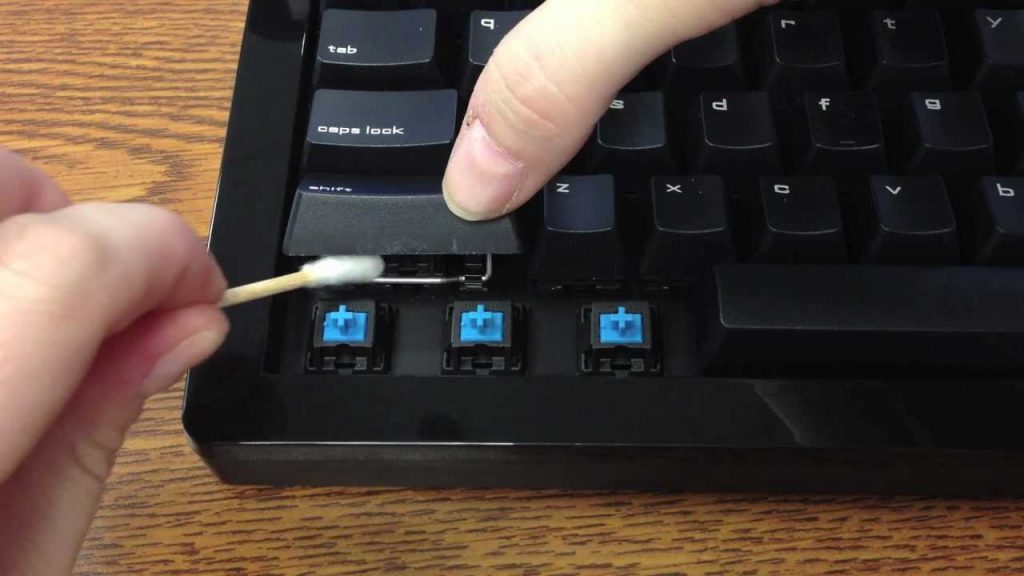
Check the actuation mechanism for damage, loose parts, or corroded hinges after you remove the keycaps. Additionally, you must remove any debris and filth from the retainer clip and its surroundings. To get rid of filth and dust, use liquid cleansers like Isopropyl Alcohol 70% (IPA) or electronic-safe solvents.
- Clean the area around the keys by dipping a soft piece of cloth or a Q-tip in the contact solution.
- Let the contact solution dry completely after a thorough cleaning before determining whether the keyboard functions properly.
- Replace the parts as necessary, and realign any displaced pieces.
- Place the retention clip after aligning it, then fasten it to the metal hinges.
- Align the keycap correctly on top of the plastic retainer after putting it.
- Latching the keycap back into place requires a gentle push.


3 Comments