How to Set Up a Laptop with a Secondary Monitor
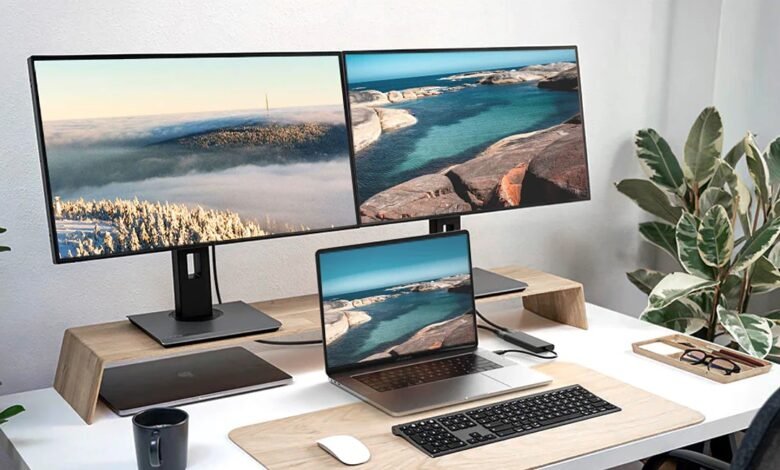
No matter if you have an average laptop or one of the best laptops around, an external monitor is a great way to enhance your experience.

No matter if you have an average laptop or one of the best laptops around, an external monitor is a great way to enhance your experience.
You couldn’t exactly pack it in your bag, but having a larger screen can improve your productivity, gaming experience, and ability to multitask. Follow these steps to connect a monitor to your laptop and enjoy a substantially larger display for all your media needs.
Check your connections
You must be aware of your laptop’s connectivity choices before you may connect a display to it.
Step 1:

Pick up your laptop and look at its back and sides to determine the type of ports it contains.
Given that nearly all modern displays support HDMI, certain notebook computers’ HDMI output can make connecting an external monitor easier. The majority of contemporary laptops are equipped with a USB-C connector. The precise specifications of it can vary significantly, as newer Thunderbolt 3/4 and USB4 ports utilize the same USB-C connector. However, they are capable of supporting significantly higher bandwidths, which in turn affects the resolutions and refresh rates.
Legacy outputs, such as VGA or mini-DisplayPort, may also be present in older laptops. Although it may be challenging to locate a monitor that is compatible with those standards, they remain a viable option for utilizing a monitor with a laptop.
Would you like additional information regarding port identification? Here is our comprehensive guide to all of the connectors on your laptop.
Step 2:

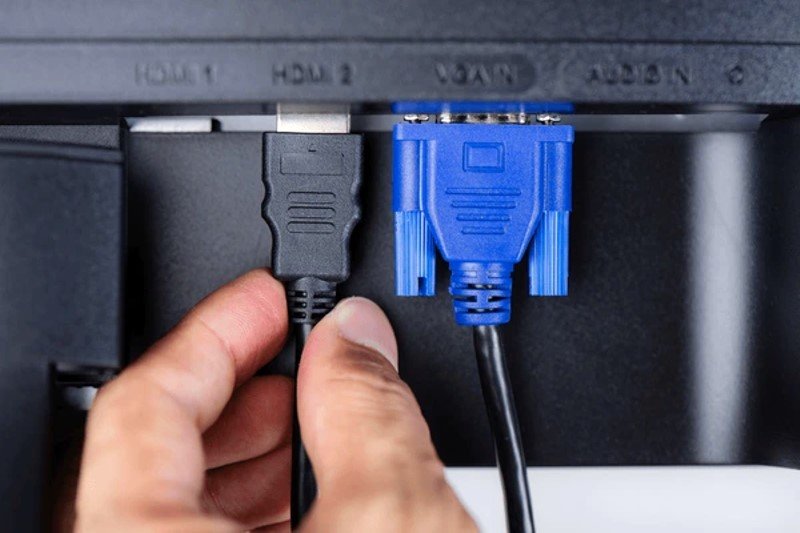
If you already have a monitor that you intend to utilize in conjunction with your laptop, it is also necessary to evaluate the connection options available. Turn it around or upside down, depending on the location of its connectors, to observe the contents.
The majority of contemporary displays support HDMI and DisplayPort, while older ones frequently support more legacy connection options like DVI-D and VGA. Additionally, certain monitors offer USB-C as an input option, which simplifies the process of connecting contemporary laptops with USB-C connections.
When purchasing a new monitor to be used in conjunction with your laptop, ensure that the interface is compatible with the output options of your laptop. You may refer to our guide on selecting a monitor or consult our compilation of the most effective monitors for further assistance.
Read More: How to Transport Your Desktop PC Safely
Take a cable
After determining the connections that can be used at each end of the connection, it is necessary to select the cable that will be used. If both your laptop and monitor have the same type of connection option, you can utilize that cable type without any additional complexity. HDMI to HDMI, USB-C to USB-C, DisplayPort to DisplayPort, and so forth.
Nevertheless, it may be necessary to employ an adapter or converter if your monitor has distinct connection alternatives from your laptop. There are methods to convert nearly any video interface into another. For instance, there are HDMI to DisplayPort adapters and USB-C to HDMI adapters. Alternatively, you could employ a docking station or hub to provide yourself with a variety of connection options. However, this option is generally more costly than a single adapter, and some of them require external power.
In the event that you have a variety of connection options, select the one that is most efficient for you and supports the refresh rate and resolutions you wish to use for the monitor. The specifications of various cables and connections can differ significantly between generations. Consequently, it is necessary to evaluate the capabilities of the current system and the desired system in order to determine the optimal choice. We offer guides on HDMI 2.1 and its predecessor, HDMI 2.0, as well as the high-end DisplayPort 2.1.
Connect your laptop to the monitor
The final step in connecting your laptop to a monitor is to physically attach the two devices.
Step 1: Connect one end of your cable (or cable and adapter chain) to your laptop and the other end to your monitor.
Step 2: If the laptop is not already operational, activate it and wait for a brief period. If the cables are properly connected and compatible, the external monitor should display a copy of the laptop screen. This is the default setting in Windows; however, you have the option to modify it if you wish.
Step 3: To configure the monitor to extend rather than duplicate your display, access the display settings on your laptop and select “Extend.”
Navigate to the following menu on Windows PCs: Settings > System > Display. Then, select “Extend these displays” from the drop-down menu under the “Multiple displays” heading.
For MacBooks and Mac computers, visit the following menu: System Preferences > Displays > Arrangement. Select the “Mirror Displays” option to create mirror displays. Untick it to cause them to extend.
Would you prefer to connect your laptop to your television? It offers a significantly larger screen for work or pleasure, and it is an excellent choice for a console game port. Here are several methods for connecting your laptop to a television.
Would you like to reverse the entire procedure and utilize your laptop as the monitor instead? You have the ability to do so as well.


