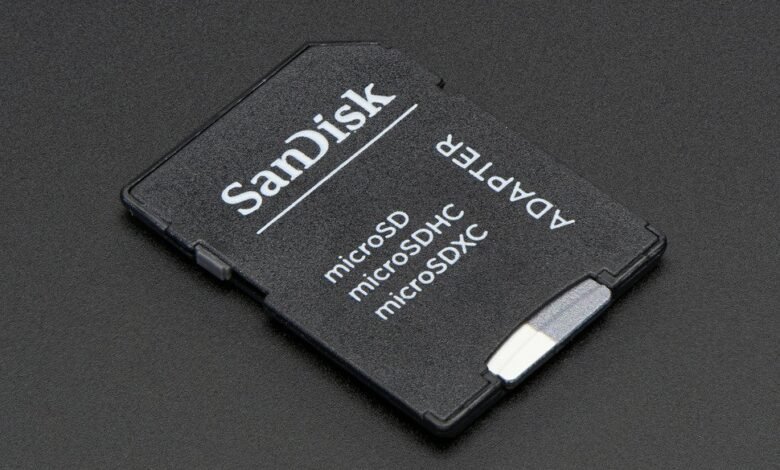
All Android devices install the Apps directly on the internal memory. This process ensures correct operation of the terminal and applications. However, when the user runs out of storage space, they can choose to install the Apps on the SD or microSD card.
Some users decide to move the applications to an SD card after installing them on the mobile in order to free up some space. However, certain applications do not work properly following this route. Next, we explain how to directly install Apps on an SD or microSD card of an Android mobile.
Related: How to install apps on Macbook?
Is it convenient to install the apps directly on an SD or microSD card of an Android mobile?
Indeed, it is convenient to install the Apps on an SD or micro SD card of an Android mobile in order to free up the internal storage space, especially when it is already full.
Android can install apps to internal memory by default. After installing a considerable number of Apps, you may not have enough internal memory on your device, so you have two options: move the applications to an SD card or install them directly on that storage unit.
After choosing the best SD card for your mobile , you need to follow these steps to directly install all the Apps on an SD or micro SD card of an Android mobile.
- Activate developer mode: access your Android mobile settings and in the “About your device” section select “Software information”. Then, click eight times on “Build number” until you see the developer mode activation message .
- Use developer mode: go back to the settings and in “Developer mode” press the option “Forced download of applications to the external memory of the device”. In this way, you will be able to configure the storage of all the Apps in an SD or micro SD memory that you insert in your device.
Related: 35 Mobile Apps, Web Portals and Digital Platforms for the Citizens of Pakistan
Other Method
There is a more complex way to install applications directly to an SD card. This method is a bit more extensive but the end will be the same as the one mentioned for the previous steps. Therefore, it does not matter which path you follow as you will get the same result and it will be of great use to you.
- Install ADB software: First of all, you need to download and install ADB software on your PC. This application will allow you to establish a connection between the device and your computer. Access the official Android Developers website and download the Android Studio tool that includes ADB, Fastboot and Systrace. Next, install the software on your PC and select these three SDK tools.
- Install the drivers for your device: Next, you will need the drivers for your device. To perform this step, go to Android Developer and locate the brand of your device in the list provided on the page. Finally, install the driver file that you just downloaded on your PC.
- Activate USB debugging: for this step, access the settings of your terminal and in the developer options mark the option “USB debugging”. Therefore, you will be able to connect your terminal with your PC without any inconvenience.
- Establish the connection between the device and the computer: now, connect the mobile to your computer using a USB cable. Wait a few seconds while the driver installs on the computer.
- Use the software: this step consists of opening ADB and Fastboot from the computer. Then type “adb devices” and hit the “Enter” key. Immediately, you will see the serial number of your device. Type the command “” adb Shell pm set-install-location 2 “and press the” Enter “key.
- Check the success of the procedure: once you follow the previous steps, you should check if the Apps are being installed directly on your SD memory. To do this, type the command “pm get-install-location”. If the number 2 is displayed, it means that you did all the steps correctly.


3 Comments