Print Area in Excel, If you want to print just that portion of the page rather than the whole thing, you can designate a specific cell or a cell range as a Print Area. For instance, you would only want to print the results if you were adding up all of the sales. You do not need to create a brand-new document in order to put and print the results when the result cell range is set as the Print Area.
You can later add new parts to an existing Print Area after creating one. If you routinely print data from a certain area of your worksheet, designating a section as a print area can be quite helpful.
Read More: Razer Book 13 Review: Excellent Work Laptop
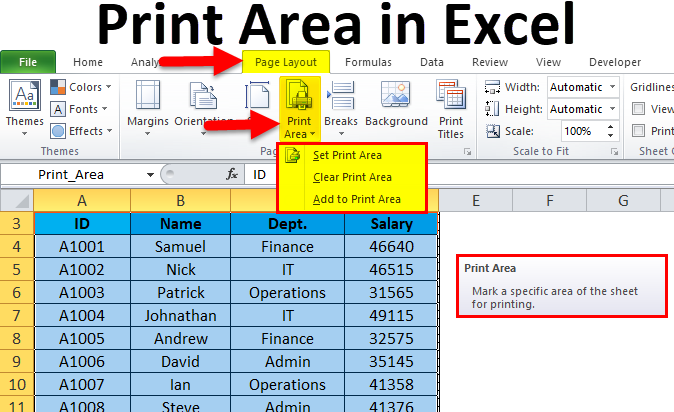
Step 1: Create a New Print Area.
The page layout item in the menu bar allows you to create a new Print Area to your worksheet.
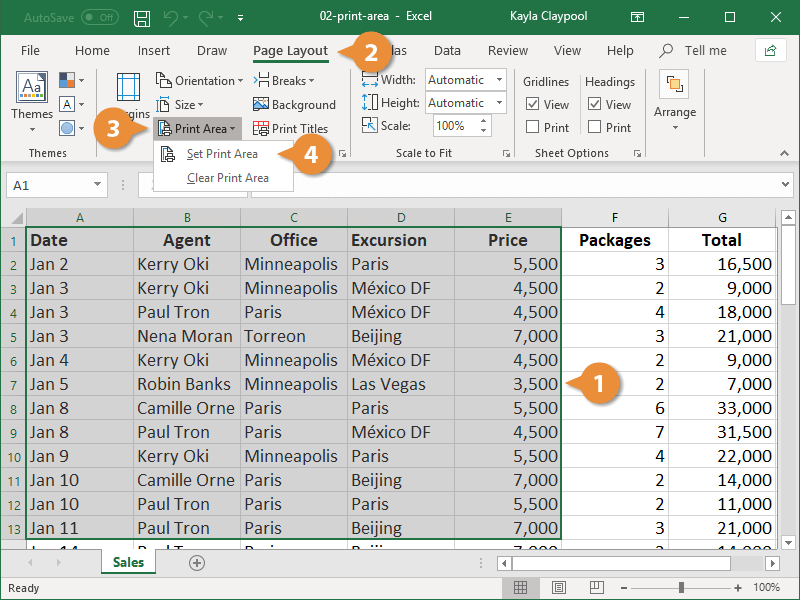
- Open Excel.
- Choose the grid’s value range that you want to print.
- Access Page Layout.
- Set Print Area by selecting Print Area.
Step 2: Expand a current print area
Print Area in Excel, To the current Print Area, you can add a new area. Excel, however, prints the newly added Print Area to a different page if the area does not border your current Print Area.
- Choose the cell range on your workbook.
- Page Layout can be chosen from the menu bar.
- Go to Print Area > Add to Print Area by clicking.
Step 3: Modify the Print Area’s Range
Print Area in Excel, You can erase each individual range from the Page Setup Window if you included one that you did not plan to set as the Print Range. Similarly, you can add cell ranges to the Print Area by entering them.
- your worksheet, please.
- Click Page Layout.
- Click the expand icon in the Page Setup section.
- Decide on the Sheet tab.
- Your range may be added or removed in the Print area.
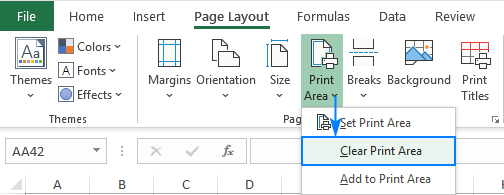
Step 4: Make Print Area Clear./Print Area in Excel
When you designate a single cell as a print area, Excel shows an alert to confirm your choice. To clear the Print Area, use the Cancel option from the warning message.


The Page Layout tab offers the option to clear all Print Areas.
- Your worksheet should direct you to Page Layout.
- The Print Area option.
- To clear the print area, choose.


2 Comments