NVIDIA Overlay Disabled in 5 Different Ways
NVIDIA Overlay Disabled, NVIDIA Overlay is a useful feature that enables you to record or capture your screen and show real-time performance, including the frame rate. The Alt + Z key is the standard combination for displaying the NVIDIA overlay. Yet, even if you hit another key combination that includes the Alt and Z keys, the overlay can still appear.
On a low-end system, the NVIDIA overlay can also result in noticeable slowness, especially when the device is working hard. The best course of action would therefore be to disable it. Simply turn off overlay in the GeForce Experience application to disable it. There are a few additional ways to stop the overlay, though.
Read More: Why Windows 10 Is Better Than Windows 11
NVIDIA Overlay Disabled, In GeForce Experience, disable overlay
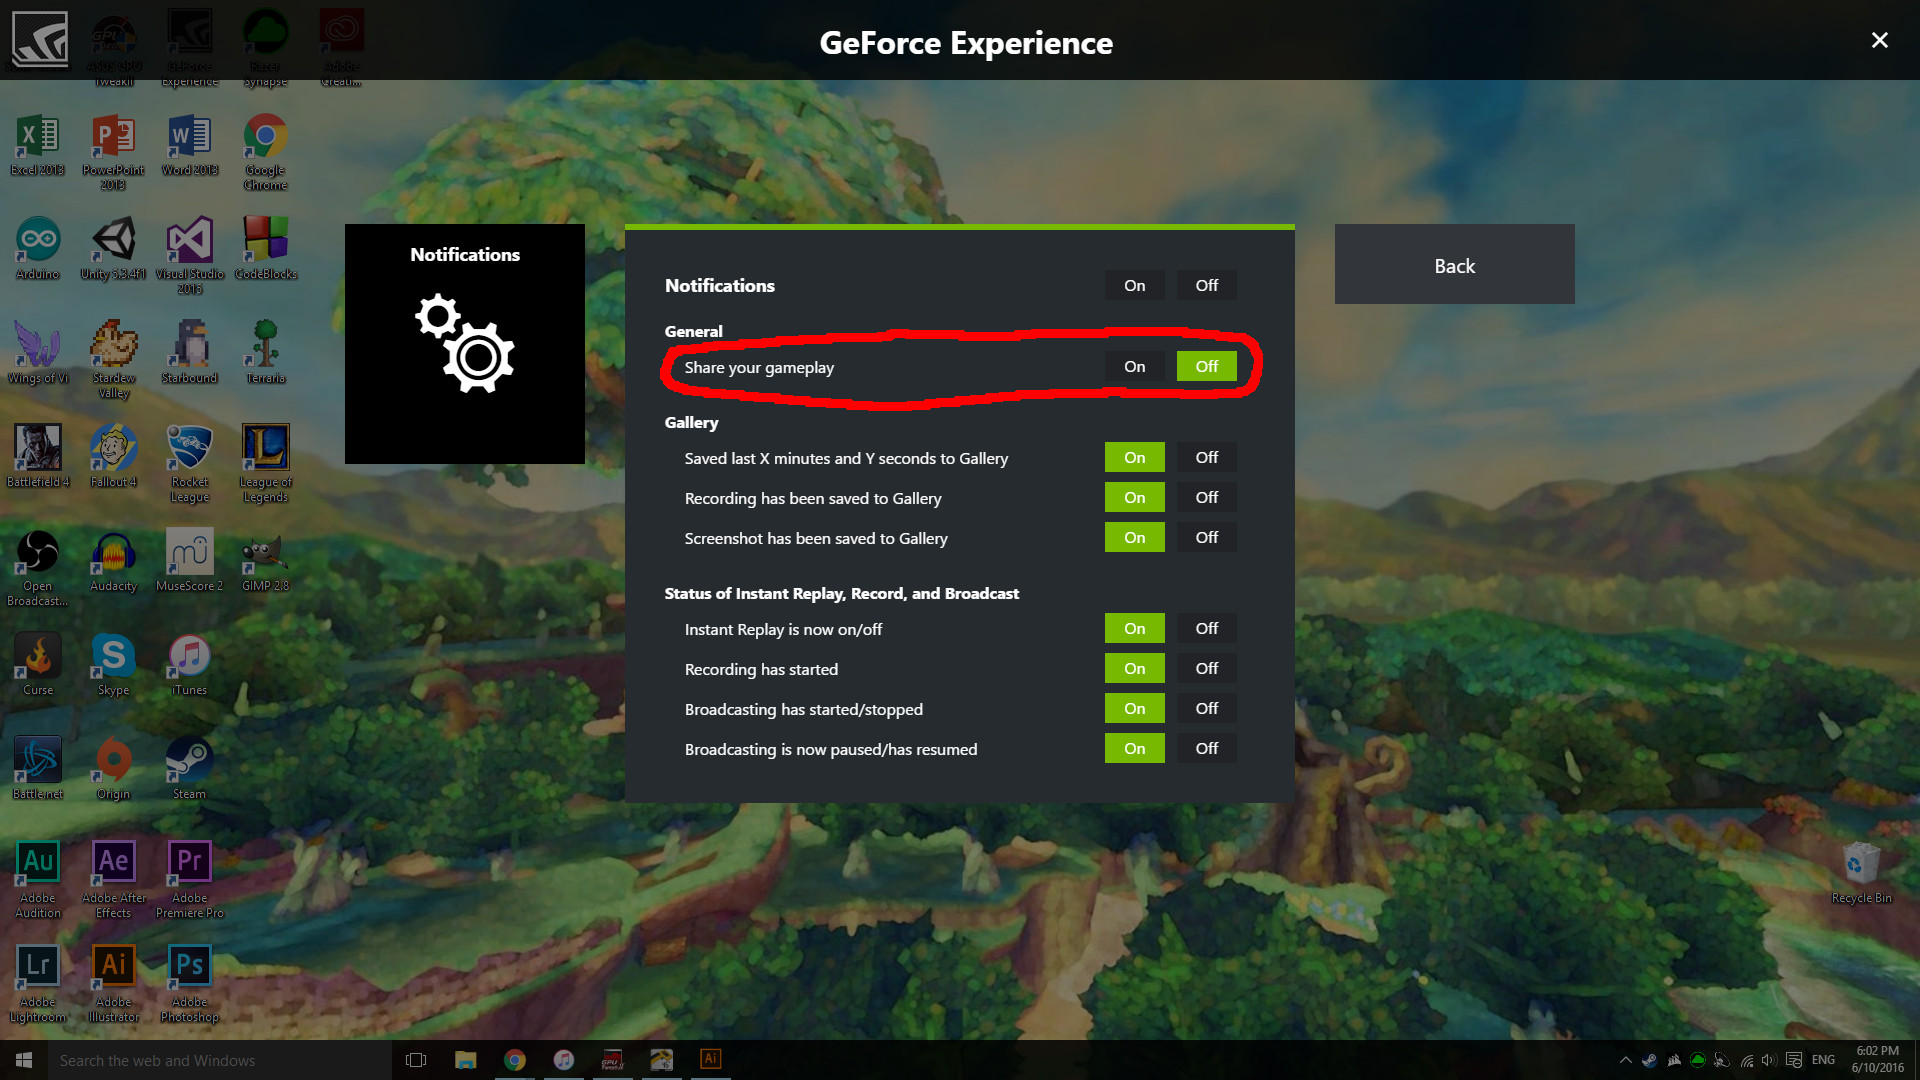
Let’s begin by using the simple approach. GeForce offers you the option to turn off the overlay, which is on by default. However, previous versions of GeForce Experience do not include this choice.
So, be careful to update to the most recent Geforce Experience version.
- Open GeForce Experience after you’ve installed the most recent version.
- Press the Settings button. At the top-right corner of the GeForce window, there should be a gear icon if you can’t find options there.
- Choose the General Tab.
- Now turn off In-Game Overlay in the right panel.
- Press the overlay’s default shortcut key after shutting off GeForce Experience to test if it appears.
NVIDIA Overlay Disabled, Delete the background process for NVIDIA
Even if GeForce Experience isn’t operating in the background, the application will still have a number of background processes. NVIDIA Container, NVIDIA Shadow Play Helper, NVIDIA share, NVIDIA Web Helper Service, and numerous others are a few of them.
NVIDIA Shadow Play Helper manages the keyboard request that activates NVIDIA GeForce Experience Overlay among various services. To turn off the NVIDIA overlay, you must end this background process.
- By simultaneously pressing Ctrl, Shift, and Esc, you can launch the Task Manager.
- Make your way to the Processes tab.
- Click NVIDIA Shadow Play Helper in the Background Processes section by scrolling down.
- Click Finish task.
- Hit the shortcut key to see if the NVIDIA overlay appears.
Terminate NVIDIA services
NVIDIA Overlay Disabled, Windows also runs a variety of NVIDIA services in addition to background tasks. When you start GeForce Experience, these services immediately launch by default. The background processes will begin as soon as the service has started.
To see if it disables the NVIDIA overlay, try disabling the Local System Container Service.


- By simultaneously pressing Windows and R, Run will be displayed.
- Services.msc is entered after typing it.
- Double-click the NVIDIA Local System Container at the bottom of the page.
- Set the Startup type to Disabled in this case.
- If the Service Status reads “Running,” click Stop.
- After clicking Apply, click OK.
- If the hotkey activates the NVIDIA Shadow Play overlay, restart your computer.

NVIDIA Overlay Disabled, Modify the GeForce Hotkeys
Using GeForce Experience, you can also modify the hotkey that launches the NVIDIA overlay. Create a key combination for the hotkey that activates the overlay. Make sure that the key combination you choose does not activate any additional system functions when you set it.
- Access Geforce Experience’s Settings by clicking on it.
- General tab should select.
- Choose Settings from the In-Game Overlay section.
- Open Shortcuts on the keyboard.
- The shortcut key for the Open/close sharing overlay should be selected.
- A desired shortcut key combination can be set.
GeForce Experience should be removed.
NVIDIA Overlay Disabled, You can try deleting the entire GeForce Experience program if none of the aforementioned fixes work. This includes the overlay and any built-in screen capture features.
- Press Windows and R at the same time to launch Run.
- Press Enter after entering appwiz.cpl.
- Go down the page and click GeForce Experience.
- To uninstall, click.
- To completely remove GeForce Experience from your computer, follow the uninstall procedure now.


One Comment