Email Scheduling with Gmail: If you want Gmail to send emails automatically while you are away, you can schedule them to be sent later.
Using this tool, you can also schedule them to be sent automatically in a few days, weeks, or even months. For instance, you don’t need to manually press the Send button to wish someone a Happy Birthday at the precise time and date.
Read More: New Gmail Features Added to Apple Email Apps
Explore the Contents
In Gmail, how to Schedule Email.
Email Scheduling with Gmail, Even while Gmail allows you to schedule numerous emails, you can only do so up until a certain number of emails is reached. On any Gmail version you are using (app/web), all you have to do is click Schedule send and pick a chosen date and time.
Email Scheduling with Gmail, On the Desktop.
- Go to your Gmail account in a browser and sign in.
- Open any saved email you want to schedule, or create a new one. A forwarding email can also be scheduled.
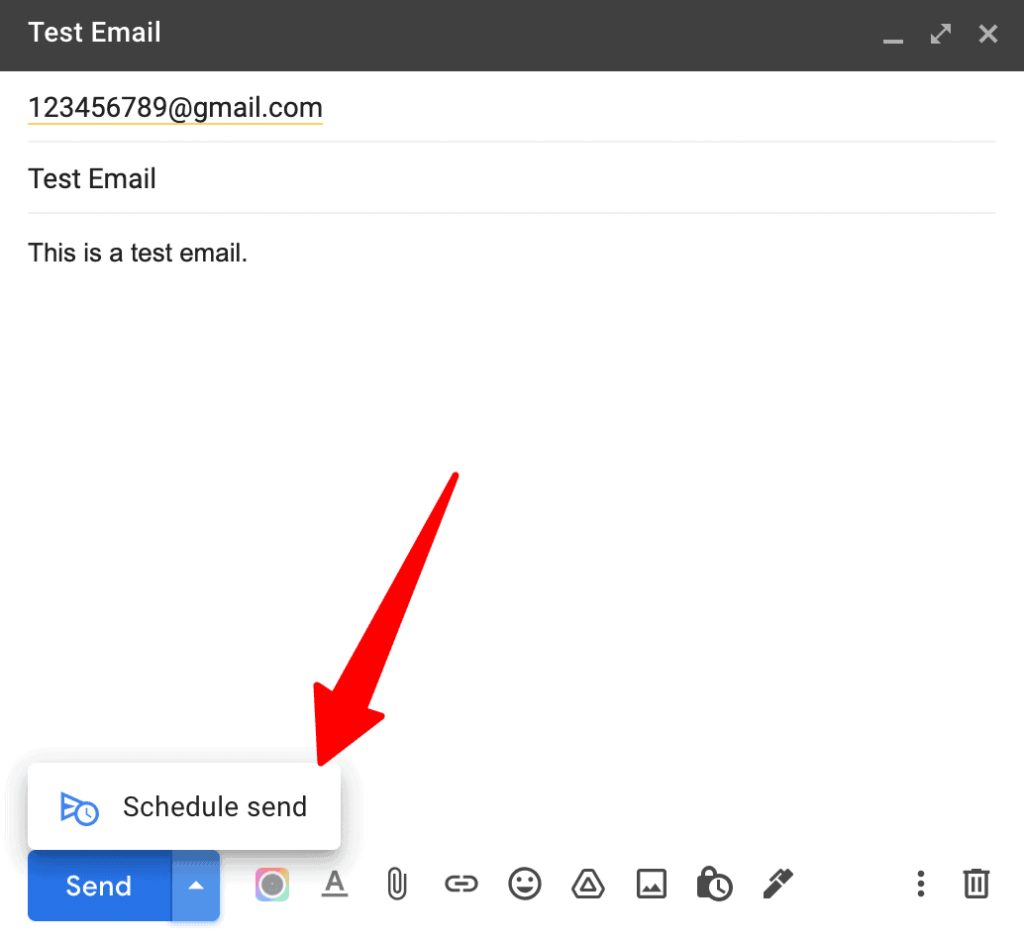
- Click the down arrow next to the Send button in the New Message window.
- To schedule a send, click.
- Choose one of the offered alternatives. Alternately, click Pick date & time to select a specific time.
- Select your favorite date and time.
- To schedule a send, click.
Email Scheduling with Gmail, On a mobile app (Android and iOS)
- Launch the Gmail app.
- To start a new message and schedule it for later, tap the pencil icon.
- Then, complete the required fields.
- Tap the three vertical dots in the upper right corner when finished.
- Choose the option for Schedule send.
- Tap the hamburger menu in the top left corner and open a message in the Drafts folder to schedule an email.
- On the subsequent message prompt, select one of the presets that are offered and tap OK.
- Alternately, you can choose a specific date and time by tapping Pick date & time.
- When prompted, select OK after selecting Schedule send.
How Can I Stop My Scheduled Mail?
Email Scheduling with Gmail, You can tap or click the Undo option to cancel or recall the scheduled mail as soon as it has been sent. You can still change or cancel the mail if you missed it, just do so before the appointed time.

On Desktop.
Click the Scheduled folder in the left sidebar on the desktop. Click the hamburger menu to enlarge the sidebar if you can’t see it.
- Select the message you wish to change or delete next.
- To halt the mail, click the Cancel send button.
- Go to the Scheduled folder and select the checkbox next to each message to cancel all of the scheduled emails at once.
- Click Send Cancel after that.
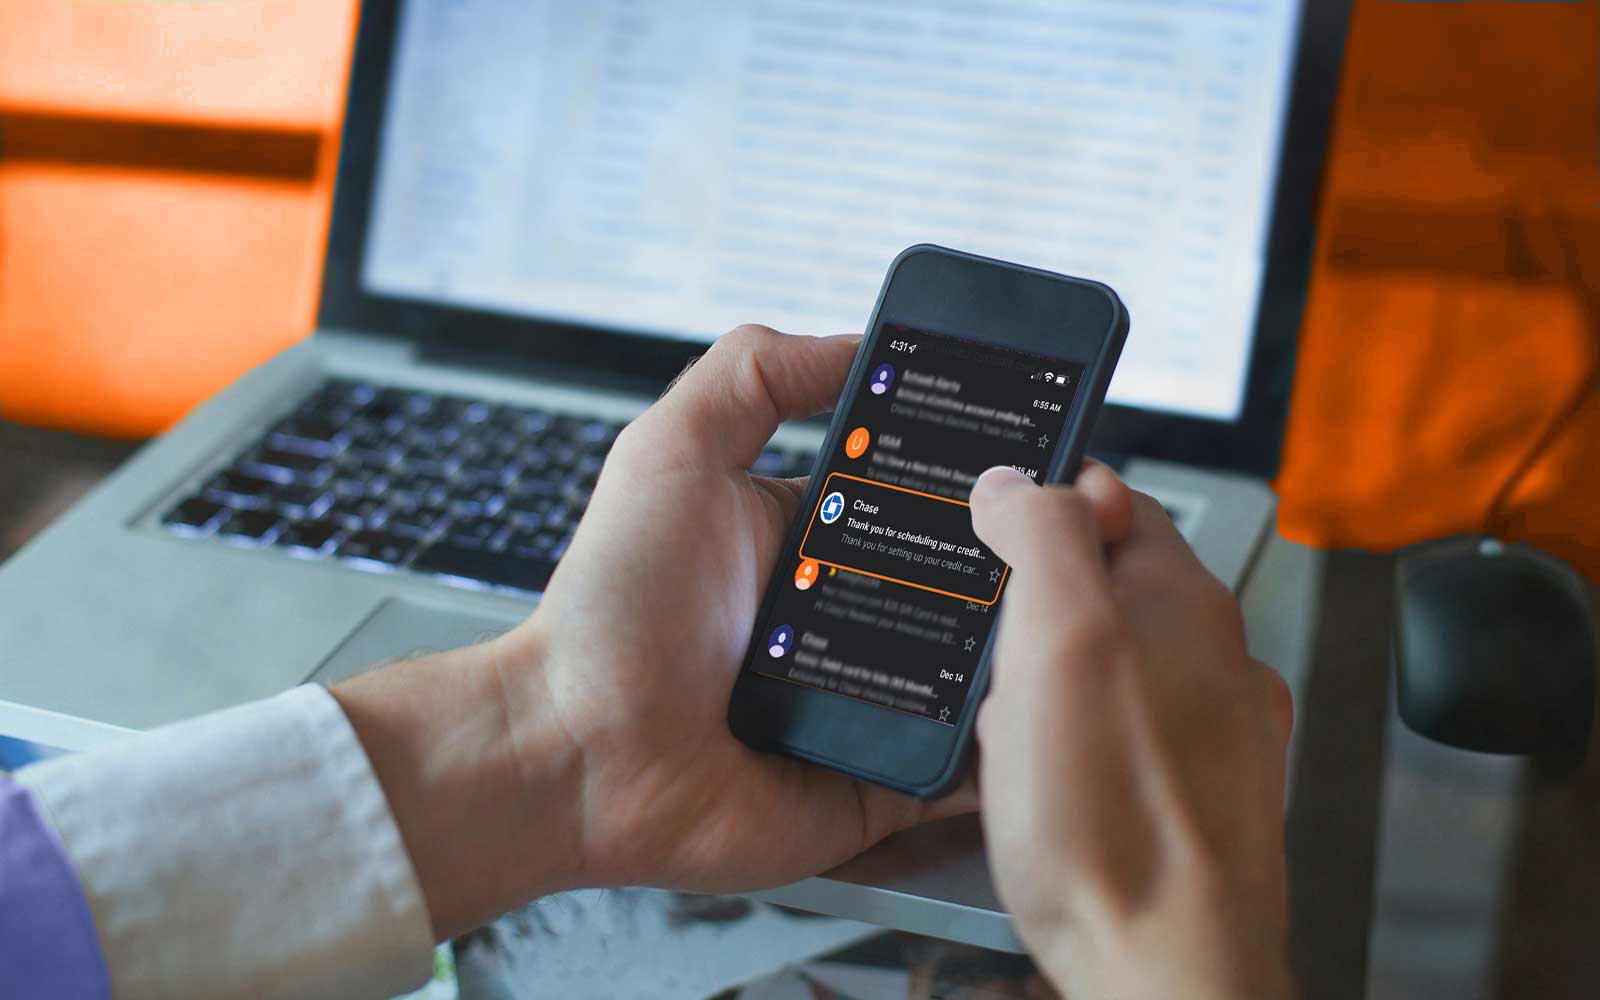
Email Scheduling with Gmail, In a mobile
- In the top left corner, tap the hamburger menu to access it.
- The Scheduled folder can be chosen from the sidebar.
- Check your scheduled mail.
- In the message’s body, select Cancel Send.
