AIO Pump Not Working? Here’s How to Fix It

AIO Pump Not Working, The cooler’s liquid circulation is handled by an AIO pump, which must run continuously. You’ll notice a dramatic increase in CPU temperature if it fails to function. Before you ever reach the login screen, the heat sensors will cut the power to stop further harm, and the PC will eventually shut down.
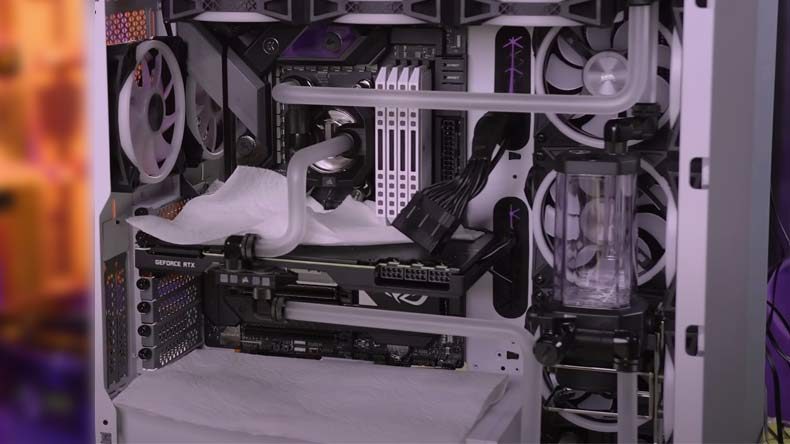
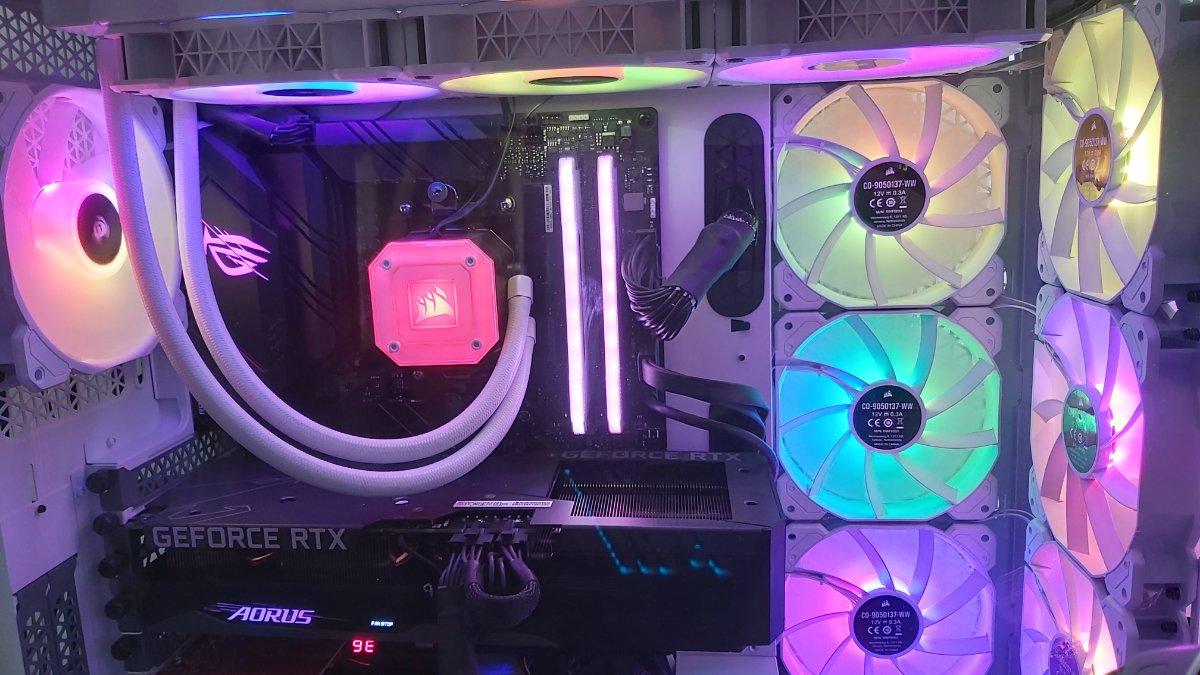
Although installing an AIO (All-In-One) cooler is easier than installing specialized liquid cooling systems, novices may find it difficult to identify and maintain the connections. A faulty pump could also be caused by misconfigured BIOS settings and mounting locations.
Read More: BIOS store in Computer/Where does computer’s BIOS reside?
AIO Pump Not Working, Setup Fans in BIOS
The pump wire must be connected to its specific AIO PUMP header. You could choose a fan header in its place because this might not be present on all motherboards. The pump usually operates without a hitch, but occasionally you may need to manually adjust the fan speed.
High-end motherboards can accommodate 4-pin headers, however some only have three pins. The latter hence does not support PWM. Regarding the same, you should choose the DC mode if you’re connecting a 3-pin connector to a 4-pin header. However, you can set it to the PWM mode for a 4-pin connector that is connected to a 4-pin header.
- When you see the manufacturer’s logo, turn on your computer and press the boot menu key. You should then be sent to the BIOS interface.
- Visit the Hardware Monitor section next.
- Verify whether the pump is recognized under the Fan Control settings. You will see 0RPM, as demonstrated below, if there is a connectivity problem.
- Please first select the proper setting if the speed is low. If your motherboard has a 4-pin header, select PWM; if it has a 3-pin header, select DC mode.
- Set the RPM now to its highest pace. Select All Full Speed (F) as shown here if your BIOS does not offer this option.
- Once this configuration has been saved, the AIO pump should now work.
AIO Pump Not Working, Refresh your BIOS
We advise flashing a fresh BIOS if you’ve just installed AIO for the first time or just changed the pump. This improves compatibility with the new part and eliminates any bugs that might be affecting the pump.
- Download the most recent BIOS for your motherboard from a different PC.
- Insert a FAT32-formatted USB flash drive with a minimum capacity of 8 GB.
- Transfer the downloaded files to your drive, then unplug the device.
- Once finished, restart your target machine and press the designated boot key to enter the BIOS.
- Connect the flash drive to the computer.
- Get to the M-Flash area as indicated below.
- To access the M-Flash interface, select Yes.
- To finish the BIOS flash, choose the update file and follow the on-screen prompts.
- Your computer will restart after the update is finished, and the AIO pump should turn on as well.
AIO Pump Not Working, Verify Good Connectivity
Sometimes, even after a BIOS update, your PC won’t detect the pump. That suggests that there may be problems with the motherboard connection.


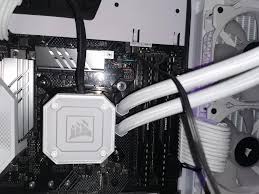
Make sure the component is getting enough power first. Some AIO pumps offer a 15-pin connector into which a suitable SATA cable from your PSU can be connected. Please safely connect a SATA cable to the appropriate ports on your modular power supply. Keep in mind that this needs a bit more pressure and ought to fit the slot properly.
In addition to SATA, you also need to connect the tach cable (3- or 4-pin) to the specific AIO PUMP header. Depending on your motherboard, the labels could be different. For your AIO pump connection, the ASRock X370 Taichi, for instance, has the designation CHA FAN3/W PUMP.
Since not all motherboards may have such inbuilt headers, it is best to consult your AIO handbook to identify the correct one. If not, you can use any fan header (such as CPU FAN, SYS FAN, CHA FAN, CPU OPT, etc.) because they can all be used to power an AIO pump.
Inspection of harmed cables and headers
AIO Pump Not Working, When checking for correct connectivity, you can find that the headers or the tach cable are damaged. In that case, it’s possible for your PC to fail to recognize the parts, in which case the AIO pump won’t function at all.
Kindly inspect each header and cable to verify this. On your motherboard, check for frayed cables or bent or damaged pins. While you’re at it, see if the locking system in the fan headers needs to be repaired.
Change the cable or use a different header if you notice any of the aforementioned issues. If that is not an option, the pump can either be repaired or replaced.
AIO Pump Not Working, Remount the AIO
If the AIO pump is not fitted properly, air bubbles may be pumped within. This is undoubtedly a warning sign that, in the worst situation, might permanently harm the component. In certain circumstances, the pump may even make a grinding or shredding noise.
A simple fix is to set the computer down on one side for a few minutes and then sit it back up. Repeat the procedure multiple times in the hopes that the air bubbles will escape the pump and liquid will fill the space.
If the general approach is ineffective, you probably mounted the AIO incorrectly. Therefore, we advise reseating the pump and reconnecting all of the cords. Please mount it advantageously so that no air bubbles are trapped within while you are doing this. When reseating the pump, don’t forget to apply the thermal paste once more.
For the pump, radiators, and tubing, you can discover and adopt several positions. Make sure to mount them properly taking into account the case size. The radiators should be positioned in front with the tubes down. Additionally, you could choose to place the tubes facing downward and the radiators at the top (above the pump).
Pump Replacement or Repair
AIO Pump Not Working, If none of the fixes were successful, your AIO pump is likely dead for a variety of reasons. Although the component can be repaired, you might need expert abilities to do so.
Additionally, how the AIO pump is built affects this. The heat plates, impeller, and other bearings might need to be cleaned, put back together, or possibly replaced. It is therefore essential to check the warranty and get in touch with the hardware store where you purchased the AIO.


One Comment