From Windows 95 and 98 to the more recent releases of Windows 10 and 11, Microsoft’s Windows operating system has undergone numerous versions over the years. Currently, Windows 11 is the most recent version that is available.
Therefore, it is only natural that a significant number of users desire access to it in order to take advantage of its different features and performance advantages, such as the Copilot AI assistant. It is typically sufficient to download and execute the Windows 11 Installation Assistant or establish installation media on a USB drive in order to accomplish this.
However, it does not always function as intended. Therefore, the following are potential solutions in the article that Windows 11 won’t install on your computer.
Read More: How to Resolve the Issue With the Audio in Windows 11
Check Your Specs Before Trying Any Fixes
Compared to previous versions of Windows, Windows 11 is quite advanced. As a result, it has comparatively high system requirements, which may result in it not functioning properly or at all on older or less powerful machines.
Therefore, if Windows 11 is unable to be installed, it is possible that your computer is not equipped to handle it. There are two methods to verify this.
Method 1: To access your “task manager,” simultaneously press “Ctrl,” “Shift,” and “Esc.” Next, select the “Performance” menu. Here, you will be provided with information regarding your computer’s CPU, RAM, storage, and other components.
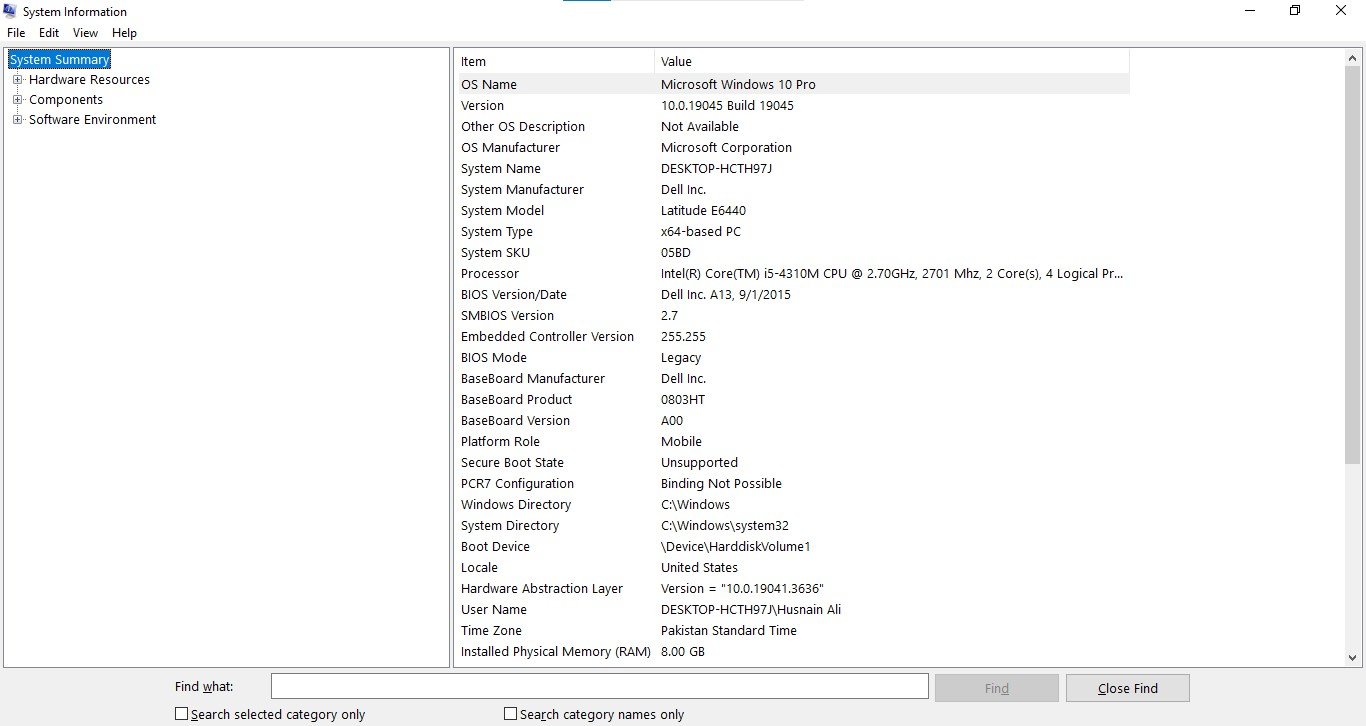
Method 2: Please press the “Windows” and “R” keys simultaneously. The “Run” box will appear. Enter “msinfo32” and press “Enter.” It will also display your “System Information” menu, which contains additional information regarding your device.

To ensure that your device is capable of running Windows 11, compare the specifications of your PC with the list of required specifications. If your computer is deficient in one or more areas, you may need to upgrade it in order to run Windows 11 or to continue using a prior version of Windows.
Fix 1: Format the Installation Drive
Windows 11 may be unable to install if the drive on which it is intended to be installed is corrupted. Formatting the affected drive may resolve this issue.
Step 1. Access the “Disk Management” utility. The simplest method is to open “Run” by pressing the “Windows” and “R” keys simultaneously, and then enter “diskmgmt.msc.”
Step 2. In the list that is provided, locate the drive that you wish to format. Select “Format” by right-clicking on it.
Step 3. Please enter a name (which may be any name) in the designated field. Leave the “Allocation size” at the default value and set the “File system” to “NTFS.” Uncheck both of the options at the bottom, which are labeled “Enable file and folder compression” and “Perform a quick format.” After that, select “OK” a few times to continue with the formatting. Please be advised that this will result in the deletion of all contents on the drive. Therefore, it is imperative to ensure that any critical information is backed up.
Fix 2: Enable Secure Boot
In order to ensure the successful installation of Windows 11, the “Secure Boot” feature must be enabled. It is possible that your computer has been configured to disable it. Enabling it is accomplished as follows:
Step 1. To access the Settings menu, click “Start” and then “Settings.” Locate the “Update & Security” tab.
Step 2. Once you have selected “Recovery,” click the “Restart now” icon.
Step 3: Once your device has rebooted, select “Advanced options” and then “Troubleshoot.”
Step 4. It is now necessary to identify the “UEFI Firmware” parameters on your device, which may differ from one PC to another. In order to determine the precise procedures for your device, it may be necessary to consult the manufacturer’s guidelines. Typically, the “Secure Boot” option is located in the “Security” or “BIOS Setup” menu and must be enabled.
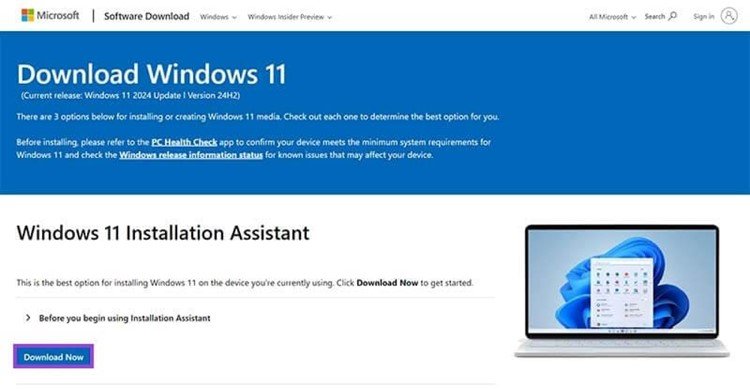
Fix 3: Try the Windows 11 Download Assistant

Fix 4: Create New Installation Media
If the Windows 11 Installation Assistant has not been successful, it may be more convenient for you to generate your own installation media and install Windows 11.
Step 1. Navigate to the official Windows 11 download page and locate the “Create Windows 11 Installation Media” option by scrolling down. Click the “Download” button.
Step 2. Launch the.exe file by clicking it after it has finished downloading and agreeing to the terms and conditions.
Step 3. Select the language and version of Windows (Windows 11) for which you wish to create media, and then click “Next.”
Step 4. Select whether you want to make your media as an ISO file or on a USB drive.
Step 5. If you selected USB, you will be required to insert and select the USB device that you wish to utilize. If you selected ISO, you may select the location on your device where you wish to save the ISO. At that point, simply select “Next” and await the media’s creation. Once it has been completed, select “Finish.”


